Your Wardrobe Isn't Small — It's Just Badly Organised
5 wardrobe changes that double usable space without adding a single inch of cabinetry

"We need a bigger wardrobe" is one of the most common lines designers hear during a bedroom renovation, and it's very often not actually true. Most wardrobes in Indian homes are sized reasonably for what they need to hold the problem is almost never the total volume of space, it's how that space is divided up. A single hanging rod trying to serve an entire wardrobe, one deep shelf holding five different categories of folded clothing stacked on top of each other, no dedicated spot for accessories so they end up wherever there's a gap none of that is a size problem, it's an organisation problem, and it's fixable without adding a single inch of cabinetry. These six before-and-after changes work inside the exact footprint you already have.
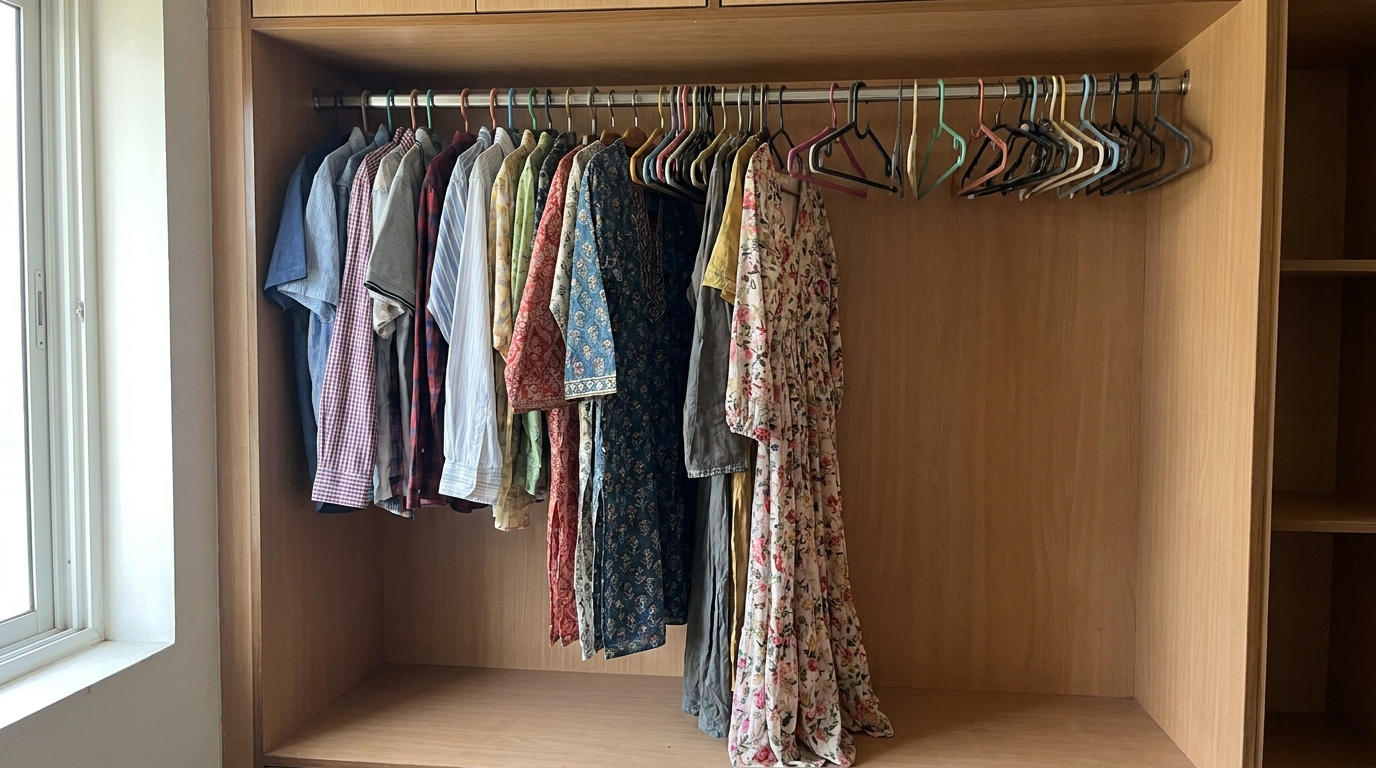
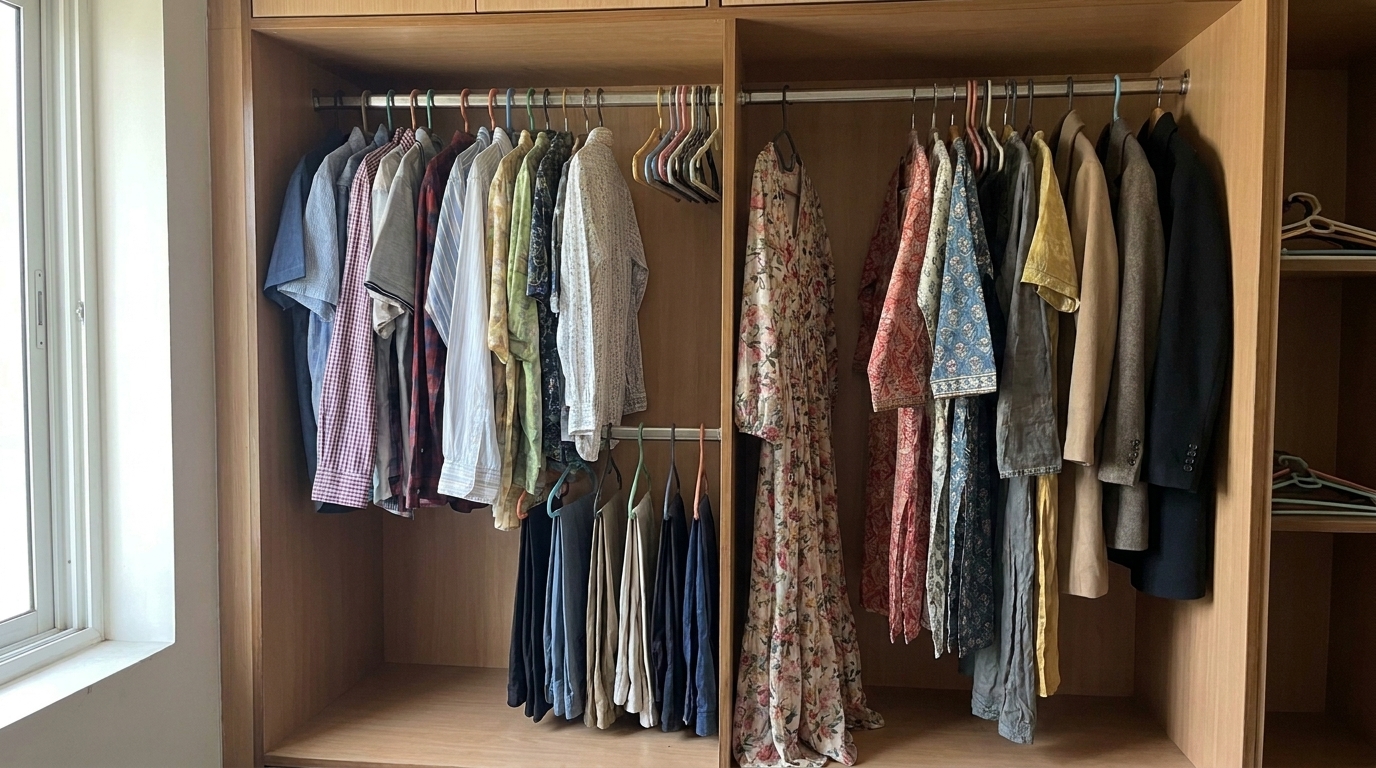
1. From One Overloaded Rod to a Double-Hung System
Before: A single hanging rod running the full width of the wardrobe, doing double duty for shirts, kurtas, and long dresses all at once which means the rod height has to compromise for the longest item, wasting the empty space below every shorter garment. It's functional, but it uses maybe 60% of the available vertical space in that section.
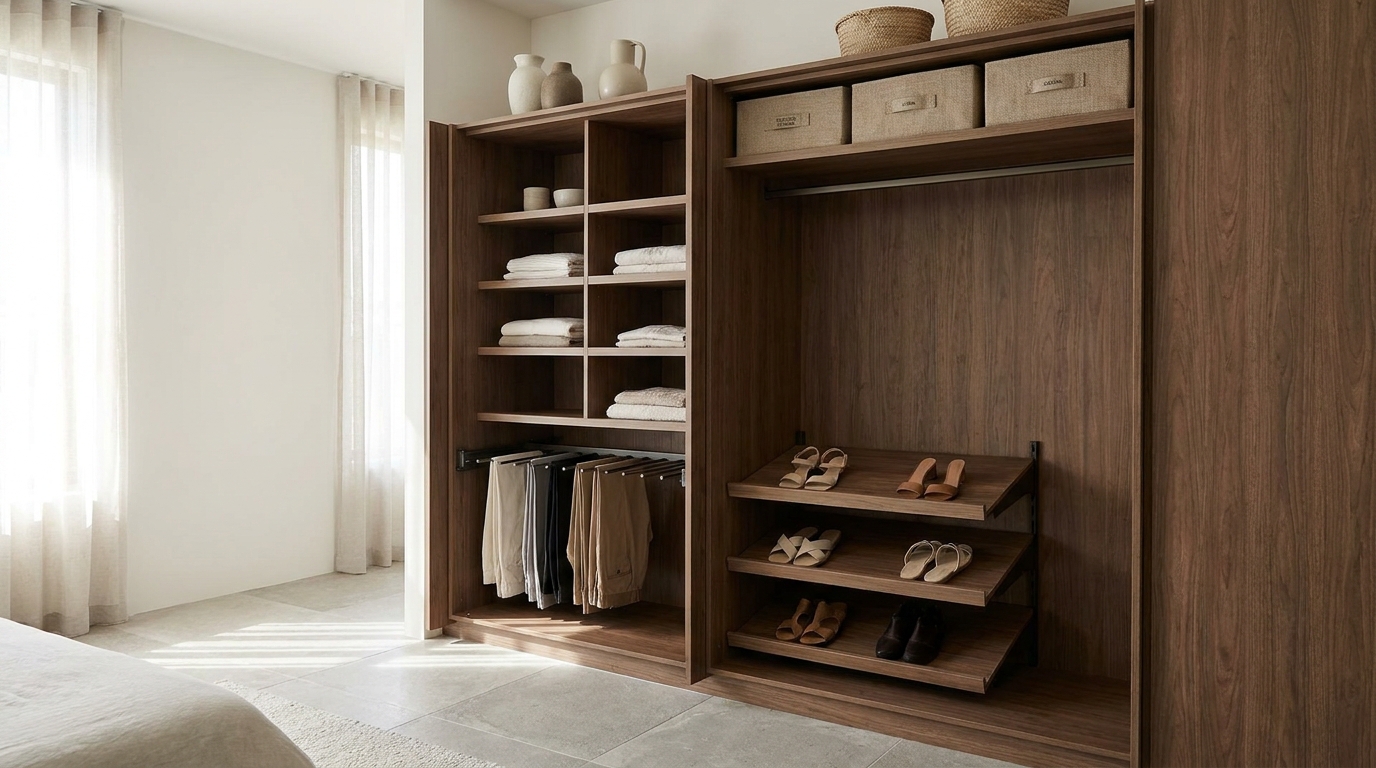
After: Splitting that same section into two shorter rods, stacked one above the other, for shorter items like shirts and folded trousers on hangers. The taller items — kurtas, long dresses, coats keep a single full-height rod in a separate section. The wardrobe footprint hasn't changed at all; the same vertical space now holds roughly double the hanging capacity because it's no longer sized for the tallest item across the board.
This is usually the single highest-impact change on this list, because hanging space is almost always the most contested real estate in an Indian wardrobe it's where shirts, kurtas, sarees, and formal wear all compete for the same rod. Splitting by garment length rather than trying to fit everything onto one uniform-height rod is the difference between a wardrobe that looks full at 60% capacity and one that comfortably holds twice as much without feeling crowded.
2. From No Accessory Storage to a Dedicated Tray System
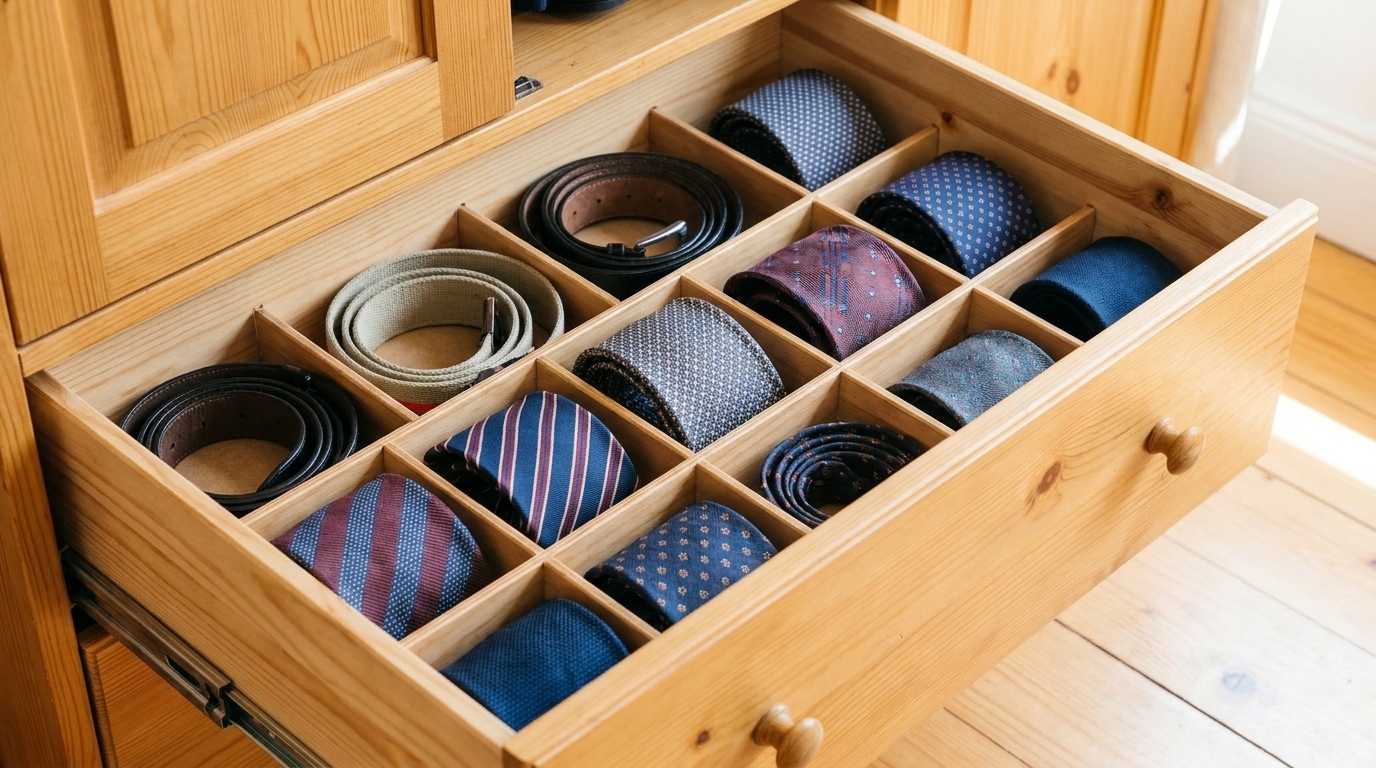
Before: Ties, belts, watches, and jewellery with no assigned spot, so they end up looped over hangers, tangled together in a shoebox on the floor, or scattered across whatever flat surface is nearest. None of this takes up much actual volume the problem is that there was never a designated place for it in the first place.
After: A single shallow drawer, or even a stackable tray insert placed inside an existing drawer, fitted with dividers sized specifically for ties, belts, and small accessories. This doesn't require new cabinetry at all in most cases it's an insert that drops into a drawer you already have. The visual difference is dramatic for how little physical space it actually uses.
Accessories are almost always the last thing planned for in a wardrobe layout, which is exactly why they end up as the most visibly chaotic part of it a jumble of ties or a tangle of jewellery pulls attention out of proportion to how much space it actually occupies. A dedicated tray fixes the problem at its root: it's not that there wasn't room, it's that there was never a boundary telling those items where they belonged.

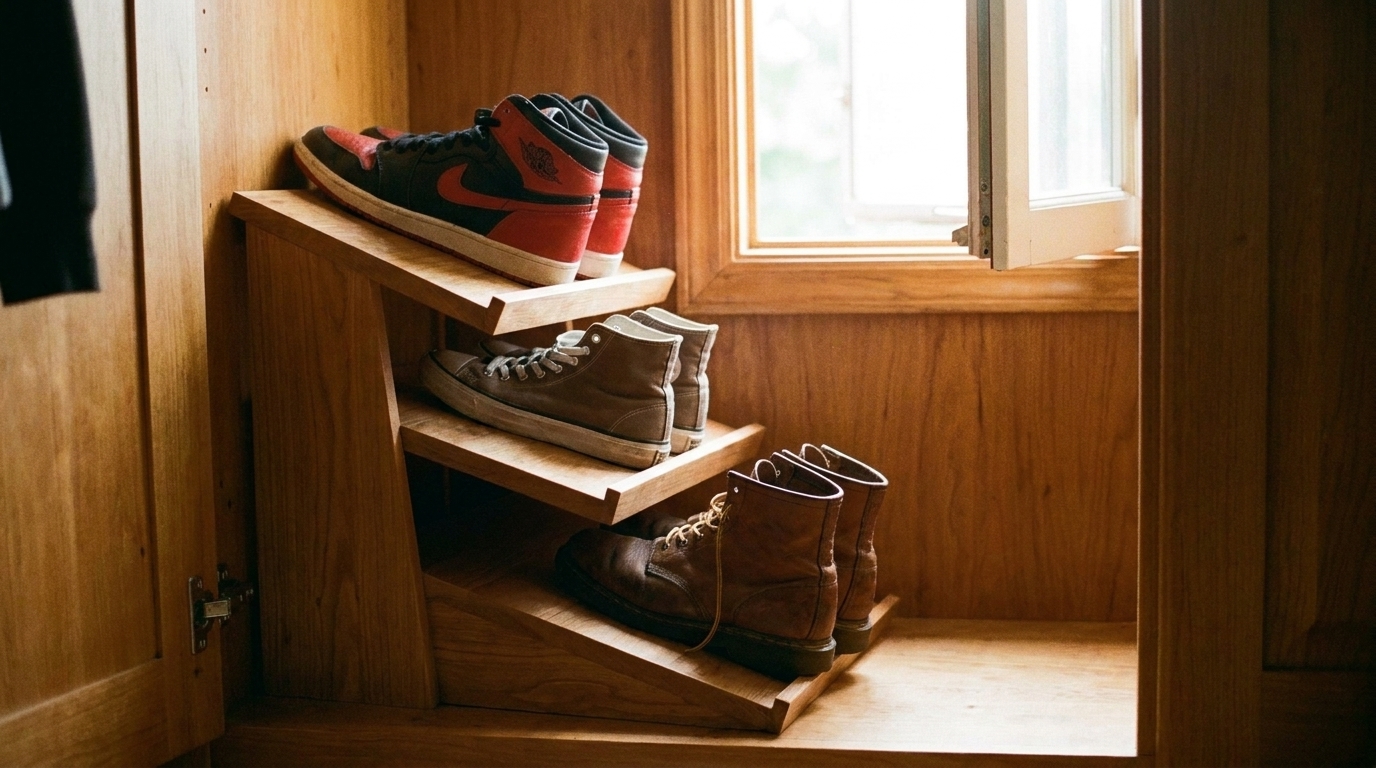
3. From Stacked Shoe Boxes to a Slanted Shoe Rack
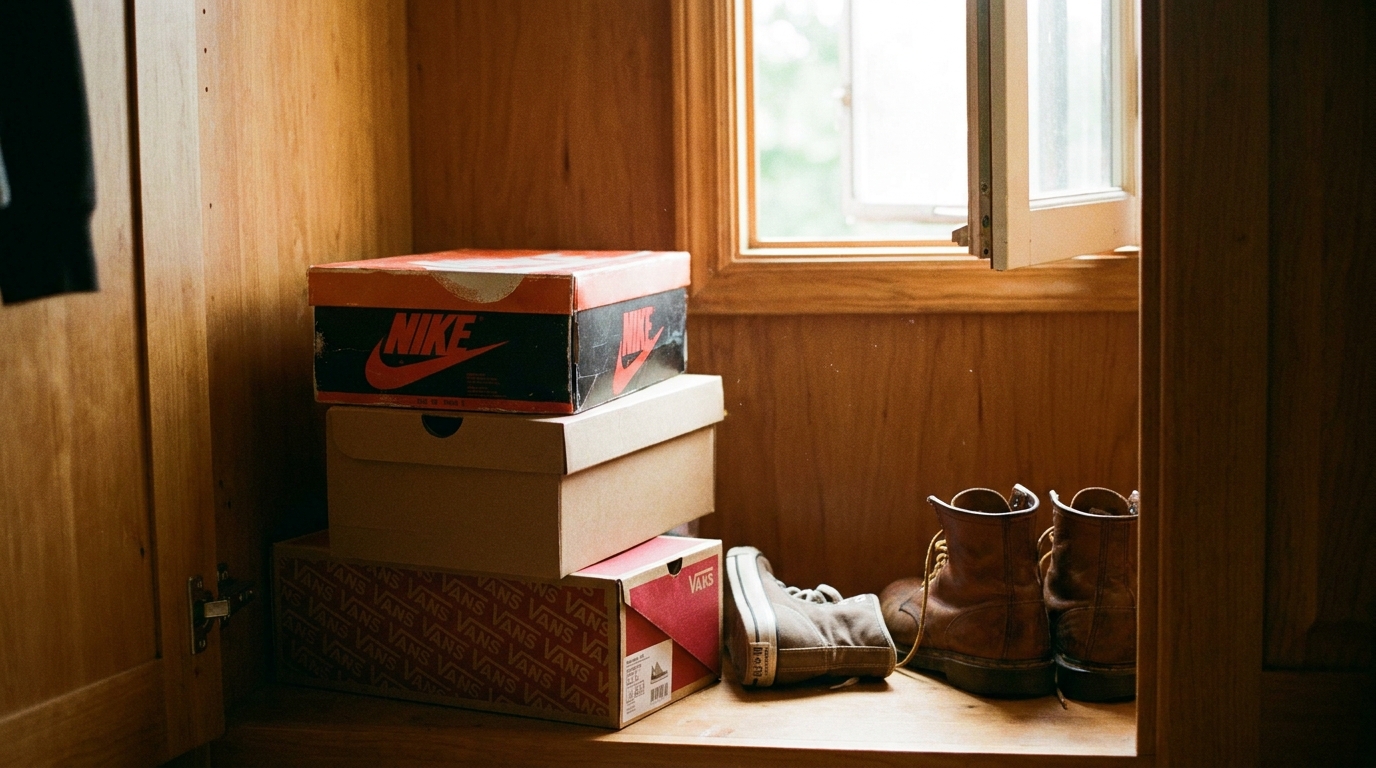
Before: Shoes stored in their original boxes, stacked three or four high on the wardrobe floor, which means finding a specific pair means unstacking and restacking boxes every time, and shoes that aren't in boxes end up in a loose pile beside them instead.
After: A slanted, tiered shoe rack fitted into the same floor footprint, with each pair visible and individually accessible without moving anything else. The rack uses the same base area the stacked boxes did, but tiers the storage vertically at an angle so every pair is visible from the front instead of buried under three others.
Shoe boxes solve for protection, not access which is fine for shoes worn twice a year, but a poor system for anything in regular rotation. The slant is what actually does the work here: by angling each tier forward instead of stacking flat, the rack trades a small amount of vertical efficiency for something far more valuable day to day, which is being able to see and grab a specific pair without touching any other pair first.
4. From No Wardrobe Lighting to a Simple LED Strip
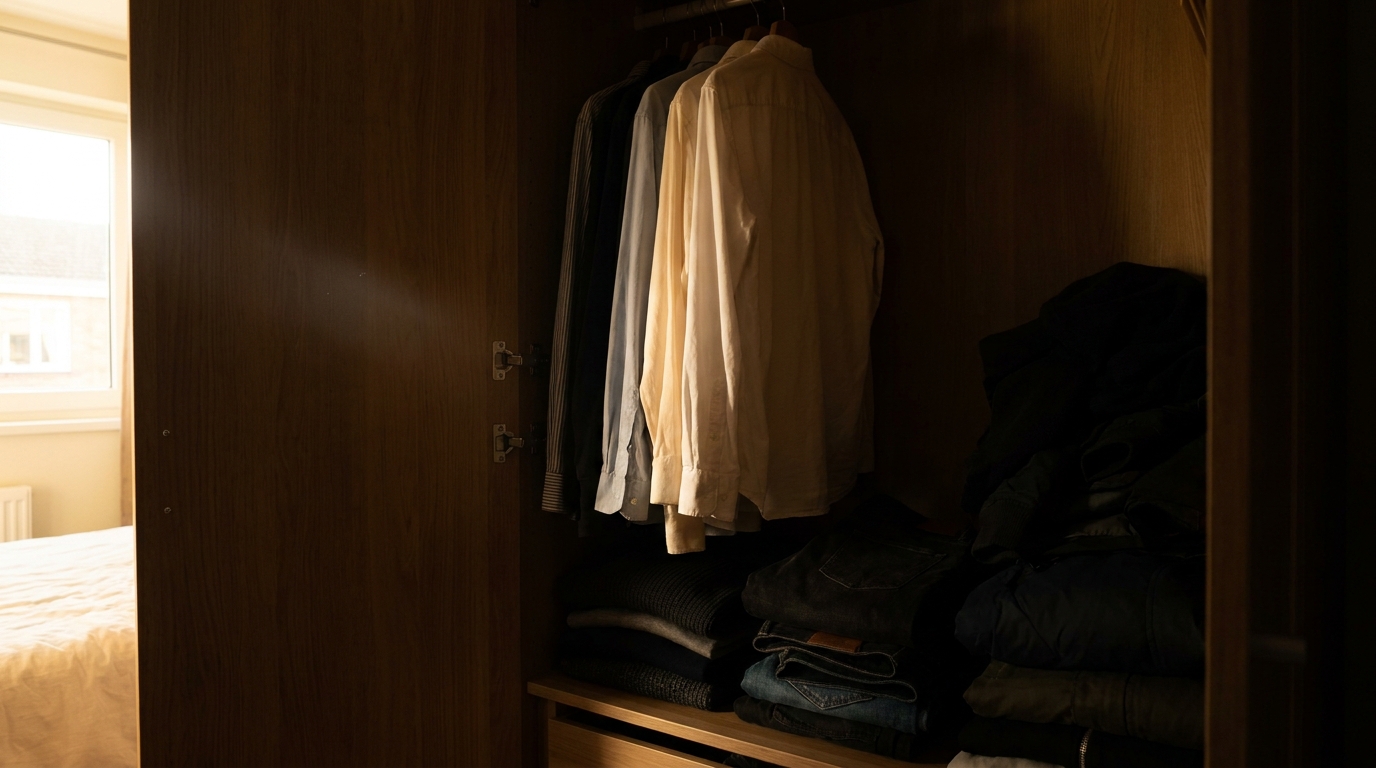
Before: A wardrobe lit only by whatever light spills in from the bedroom, which means the back corners and lower shelves stay dim enough that finding a specific item especially a dark-coloured one means pulling several things out into better light first.
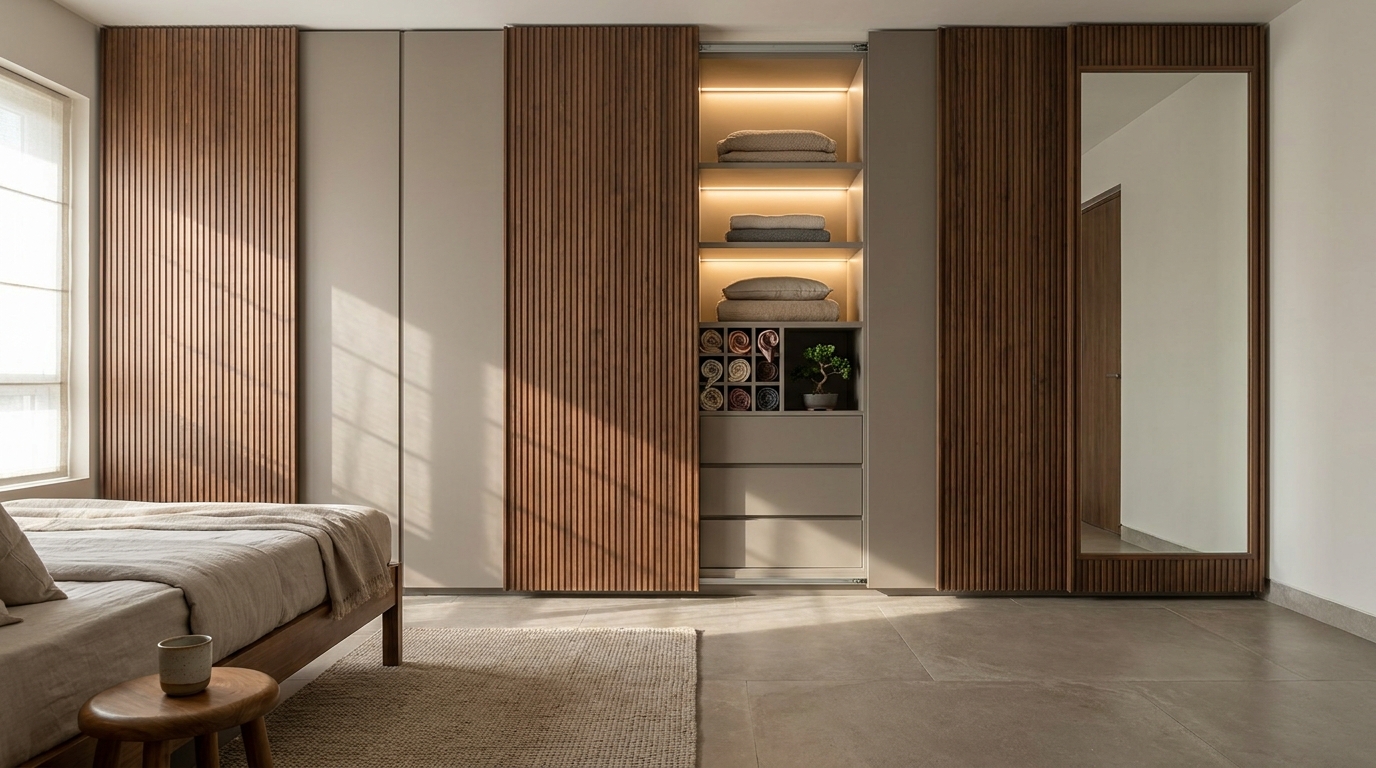
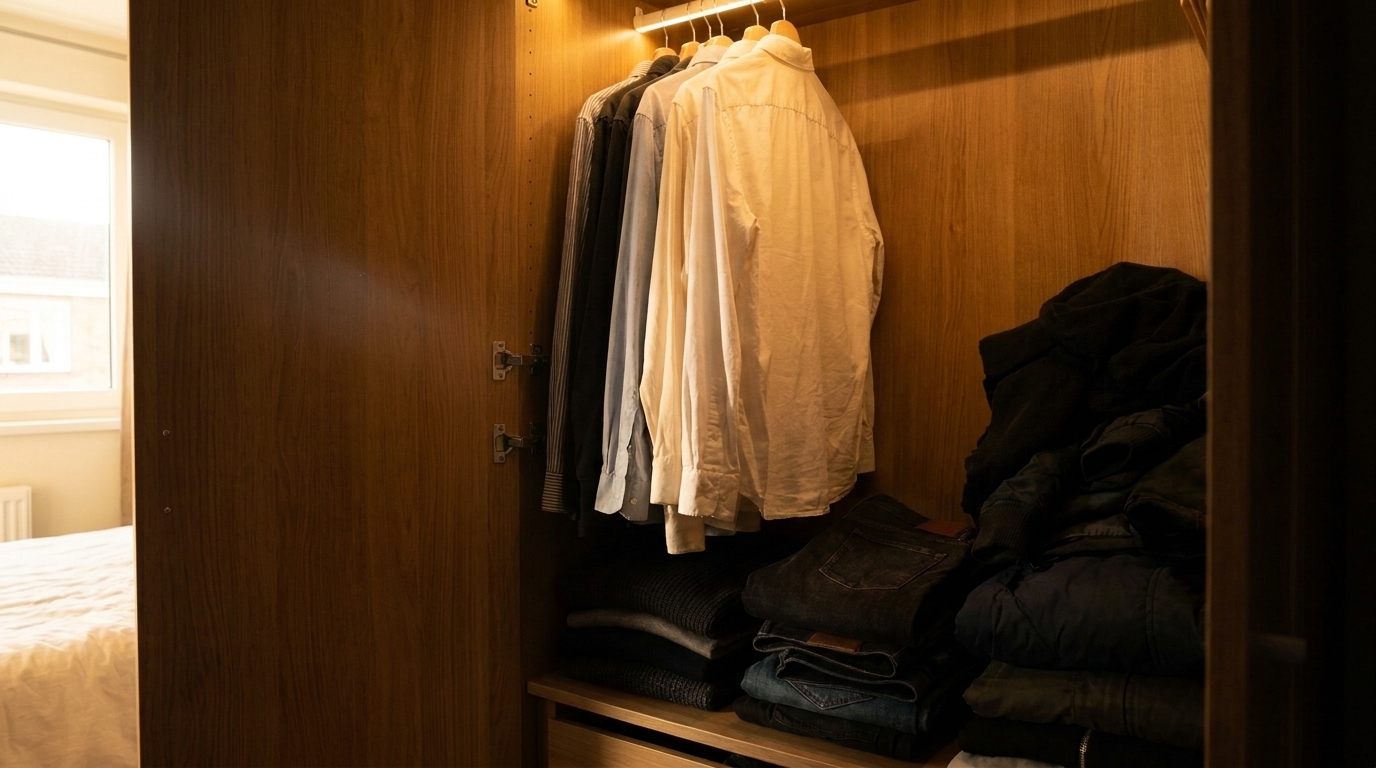
After: A battery-powered or hardwired LED strip light installed along the inside top edge of the wardrobe, switched on automatically by a door sensor or a simple manual switch. It doesn't change the wardrobe's capacity at all, but it changes how usable that capacity actually is, especially for anything stored toward the back or bottom.
Lighting is the one item on this list that isn't about storage volume or division at all it's about whether the organisation you've already built is actually visible enough to use. A perfectly divided, well-labelled wardrobe still functions poorly in dim light, since the entire point of good organisation is being able to find something at a glance, not after pulling three items into the doorway to check the colour.
5. From Mismatched Hangers to a Single Uniform Type
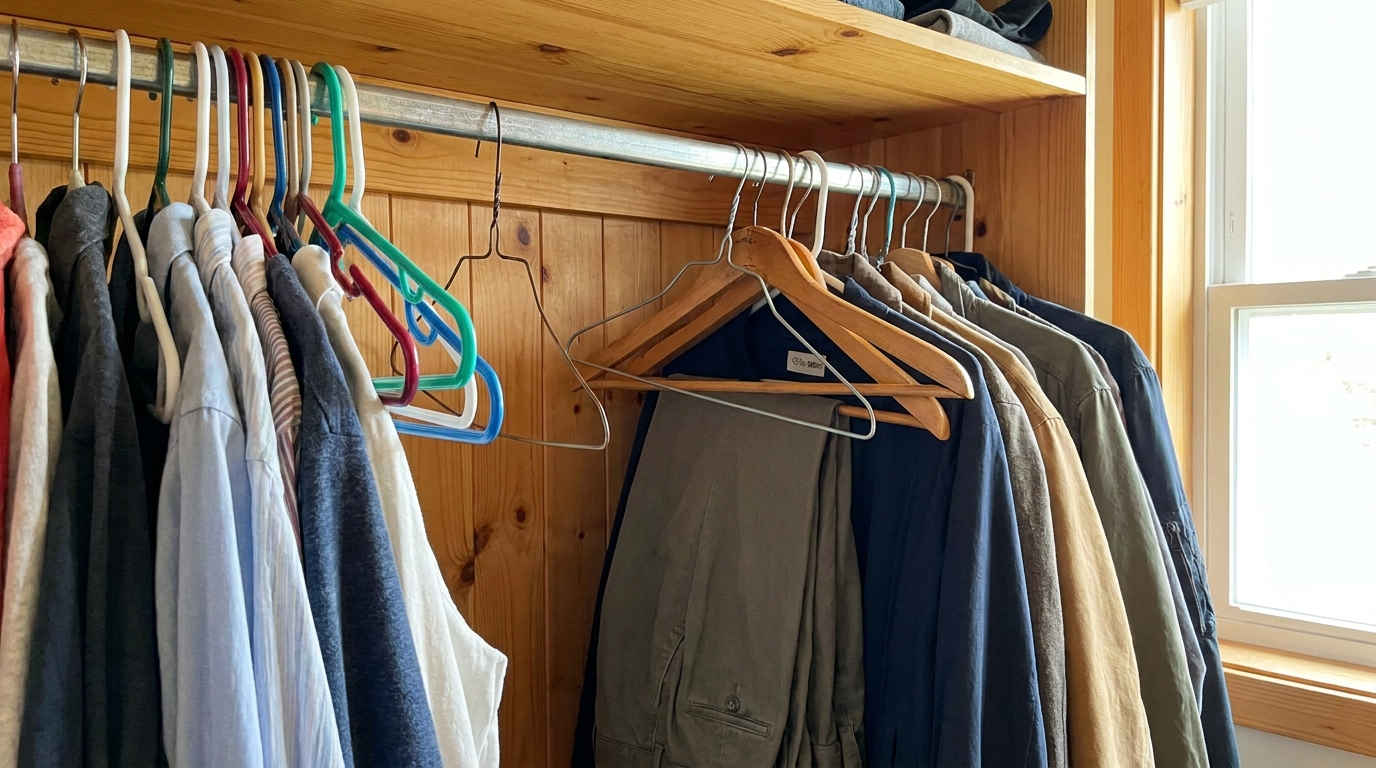
Before: A mix of thick plastic hangers, thin wire ones from the dry cleaner, and the occasional wooden one, all different widths and thicknesses, which means clothes bunch together unevenly along the rod and the wardrobe looks and functions messier than the actual number of items would suggest.
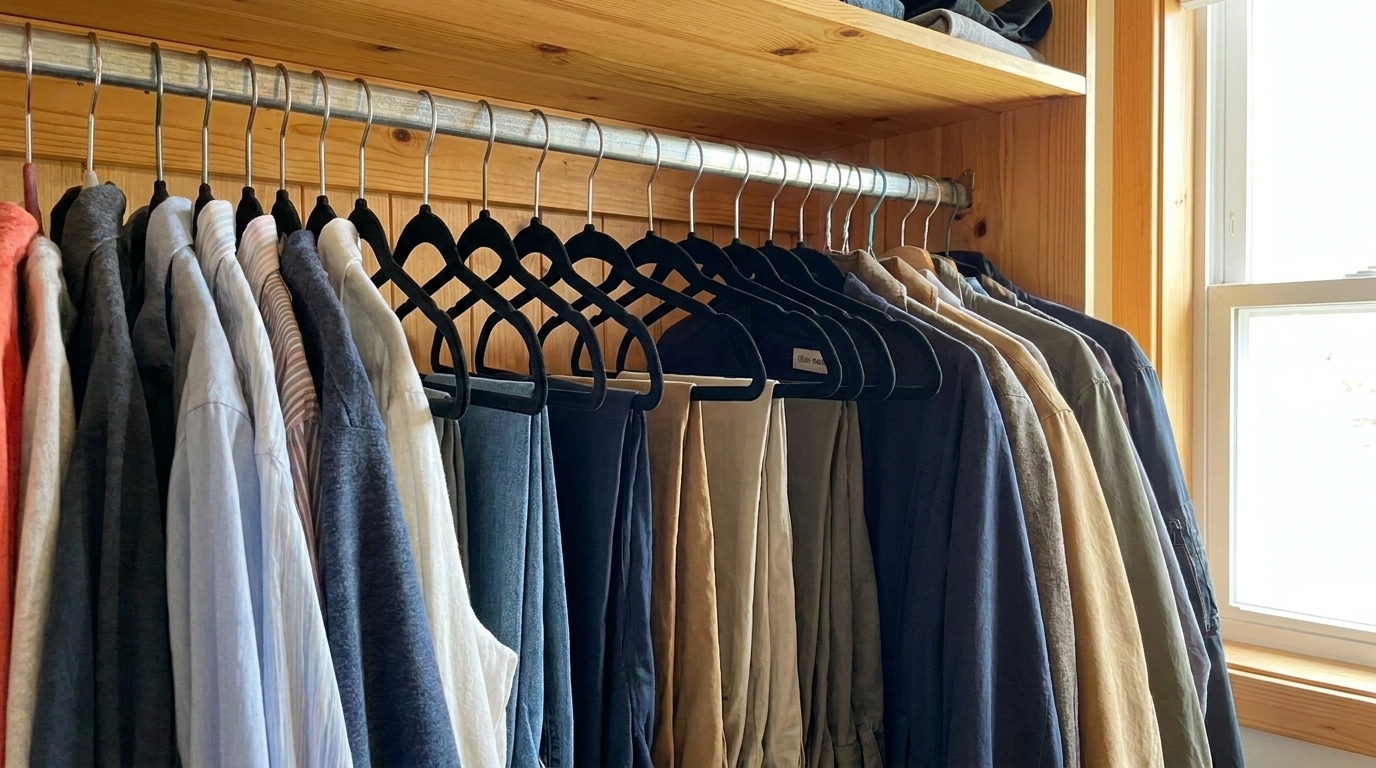
After: Replacing the mix with a single slim, uniform hanger type across the whole rod. Slim hangers alone typically free up 15–20% more usable rod length compared to a mix that includes bulky plastic ones, simply because every hanger takes up the same, smaller width. The clothes inside haven't changed only the hangers have.
This is the cheapest change on the entire list, and often the most underrated most people upgrade shelving, drawers, and lighting long before it occurs to them that the hangers themselves are quietly wasting a meaningful percentage of the rod. Because every mismatched hanger width compounds across dozens of garments, switching to one uniform type is one of the few wardrobe fixes where a small, inexpensive swap produces a genuinely disproportionate amount of extra usable space.
Closing
None of these five changes require a bigger wardrobe, a renovation, or new cabinetry in most cases they're reorganisations of space that was already there, just poorly divided. The pattern across all five is the same: the volume of storage rarely needs to grow, it needs to be split, angled, lit, or standardised so more of it is actually usable day to day. Before spending on a bigger wardrobe, it's worth checking whether the current one is actually full, or just badly organised.
Want a real estimate for your home?
Share your home in 2 minutes. We'll match you with verified designers in your city and give you a BOQ-level estimate before any work begins.
Share your home →