6 Small Bathroom Swaps That Make a Bigger Difference Than You'd Expect
The individual fixtures that change how a bathroom feels day to day — taps, mirrors, handles, and more

A bathroom renovation usually focuses on the big-ticket decisions — tiling, layout, plumbing — and it's easy for the individual fixtures to get treated as an afterthought, picked quickly at the end once the budget's mostly spent elsewhere. But the tap, the mirror, the cabinet handles are also what people actually touch and look at closely every single day, often more than the tiling itself gets consciously noticed after the first few weeks. These six before-and-after swaps show just how much of a bathroom's daily feel comes down to fixtures, not just the bigger structural choices — worth keeping in mind whether you're planning a full renovation or refreshing what's already there.
1. From a Corroded Chrome Tap to a Matte Black Single-Lever
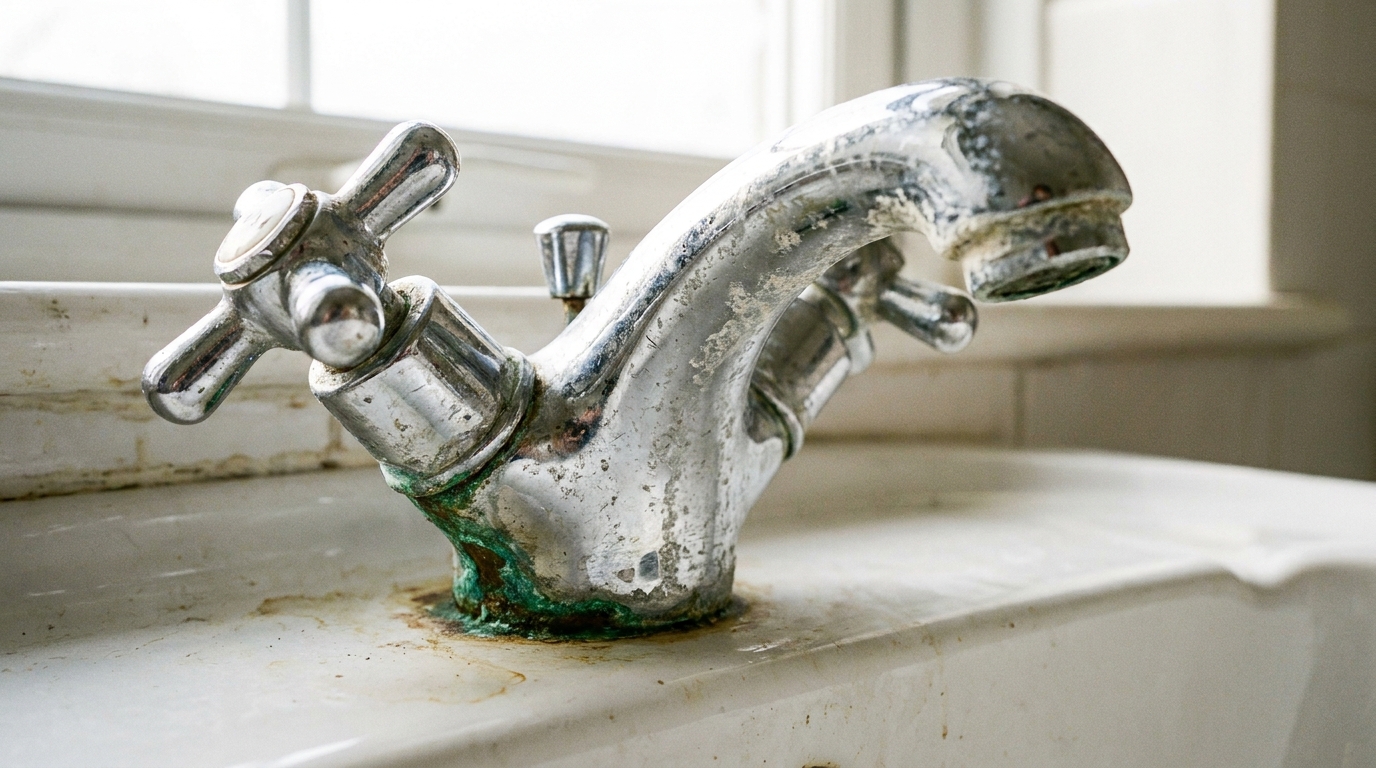
Before: An older chrome tap, functional but visibly corroding at the base and around the handle joint, with limewater staining that no amount of scrubbing fully removes. It still works, but it's the first thing anyone notices when they walk up to the sink.
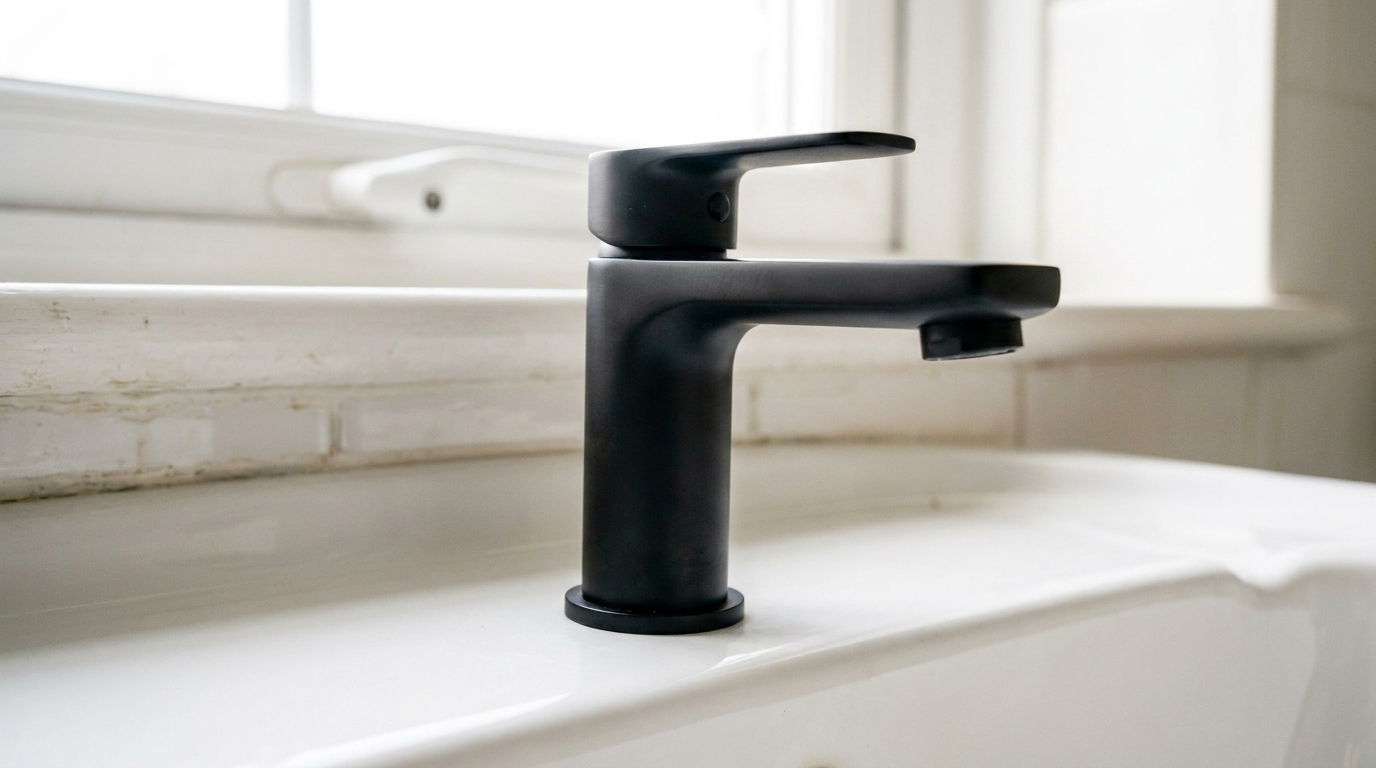
After: A matte black single-lever tap, swapped in without touching the existing plumbing connections beneath the counter in most standard installations. Matte black finishes also show water spots and limescale considerably less visibly than polished chrome, which matters in areas with harder water.
A tap swap is one of the few bathroom upgrades that can genuinely be done without a plumber in some cases, provided the existing connections are standard-fit — though it's worth having someone check first, since older installations occasionally use non-standard fittings that need an adapter. Beyond the visual upgrade, a single-lever tap is also usually easier to operate one-handed than an older twist-handle design, which is a small but real daily convenience most people don't think to ask for until they've lived with one.
2. From a Plain Rectangular Mirror to a Round Brass-Framed One
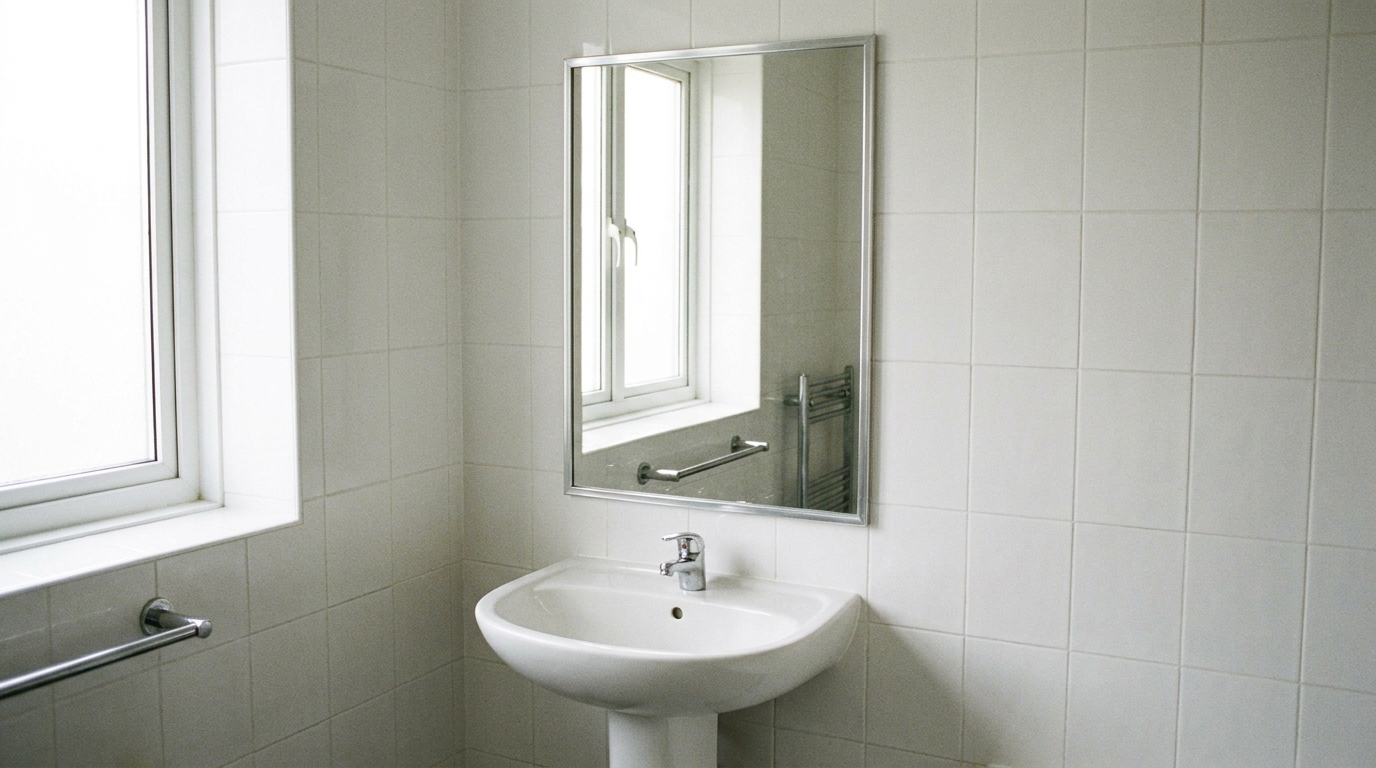
Before: A plain rectangular mirror, likely original to the bathroom's last renovation, functional but visually anonymous — it does the job without adding anything to the room, and it's usually the least considered element in an otherwise decorated bathroom.
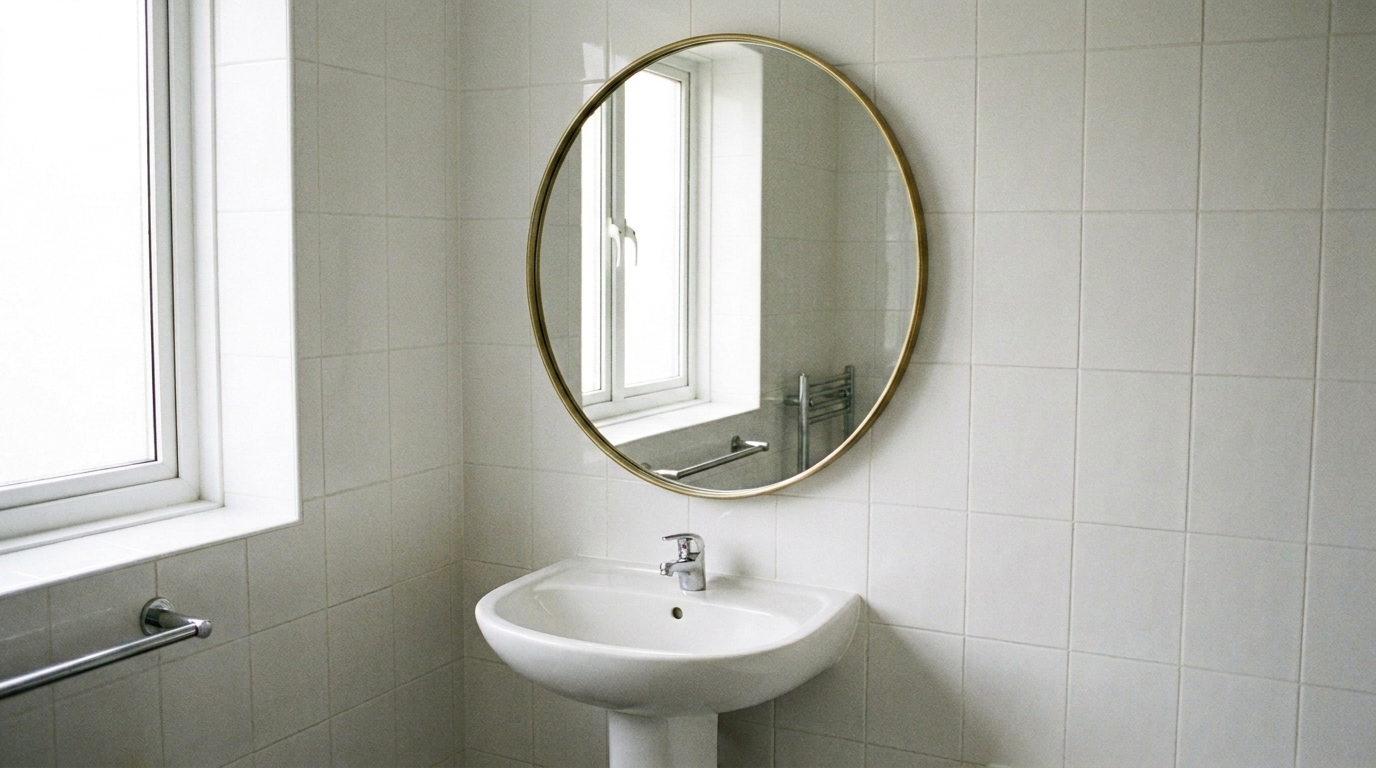
After: A round mirror in a slim brass frame, mounted in the same position. The shape change alone does most of the visual work — a round mirror breaks up a room that's otherwise full of straight lines and right angles (the counter edge, the tiles, the cabinet fronts), and the brass frame adds a warm metallic note that a plain mirror never could.
Mirror swaps are genuinely simple from an installation standpoint — most wall-mounted mirrors use a straightforward bracket or adhesive mount, and swapping one for another rarely requires new wall work unless the new mirror is significantly larger than the old one. It's worth measuring the existing mirror's mounting points before ordering a replacement, though, since matching or slightly exceeding the original footprint avoids exposed wall marks from the old mount.
3. From Mismatched Cabinet Handles to a Uniform Brushed-Brass Set
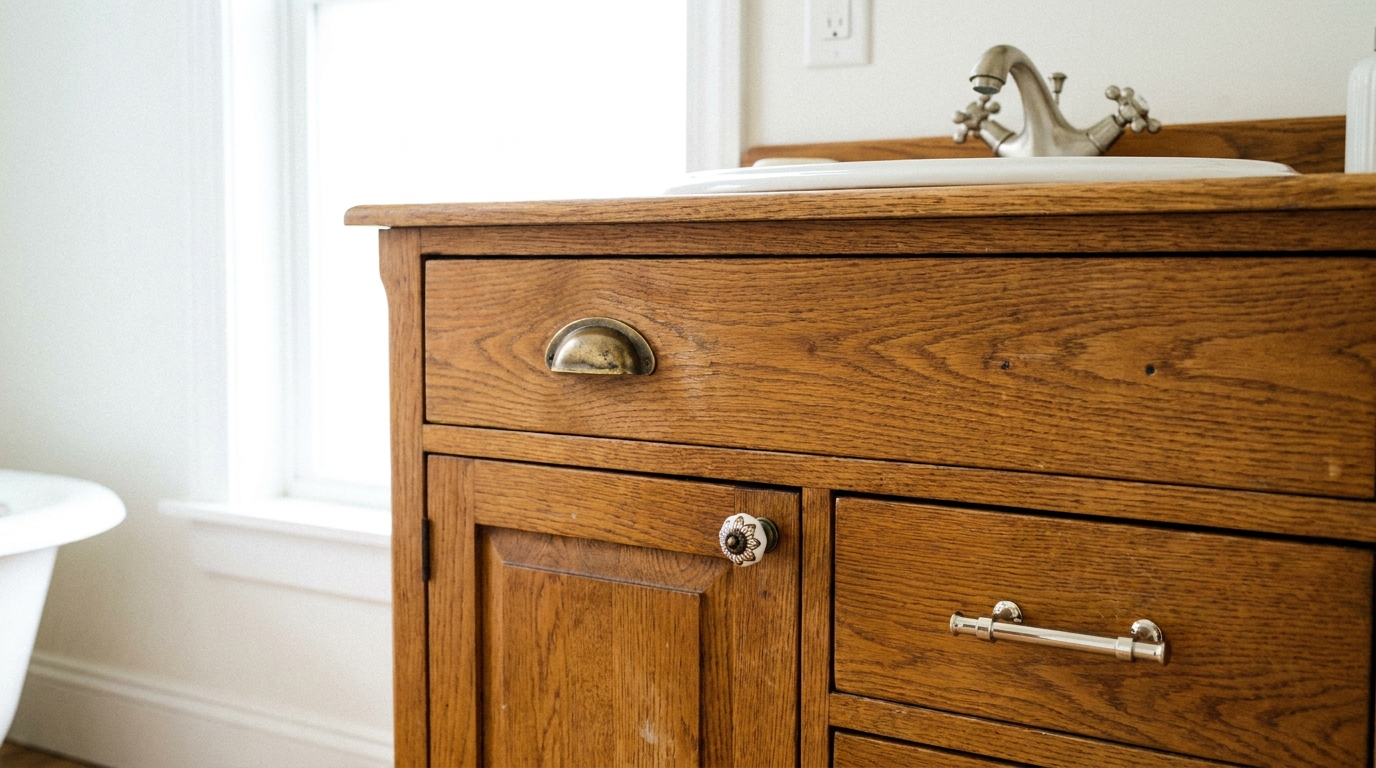
Before: A bathroom vanity with cabinet handles that don't quite match — perhaps a mix left over from a previous renovation, or handles that were replaced individually over the years as they broke, each a slightly different finish or style. Individually each handle is fine; together they read as unplanned.
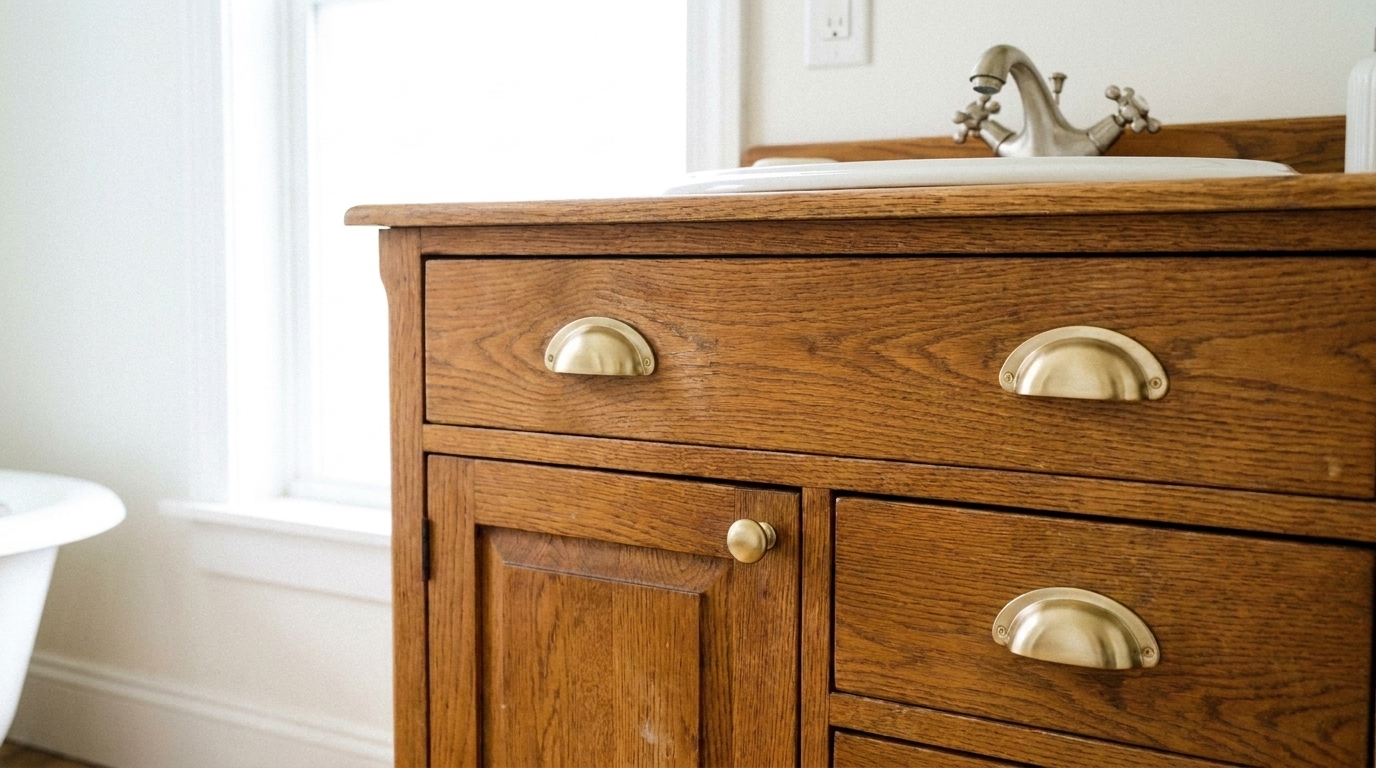
After: A single uniform set of brushed-brass handles across every cabinet and drawer in the vanity. This is one of the cheapest changes on this entire list — handles are a small, inexpensive item — but because they're touched daily and visible up close every single time, the visual return relative to the cost is disproportionately high.
Handle swaps are almost always a simple screw-in replacement, provided the new handle's screw spacing matches the existing pre-drilled holes in the cabinet — it's worth measuring the hole spacing on the current handles before ordering, since mismatched spacing means either drilling new holes or patching the old ones, which turns a ten-minute job into a considerably longer one.
4. From a Rusting Wall-Mounted Towel Rail to a Heated Rail
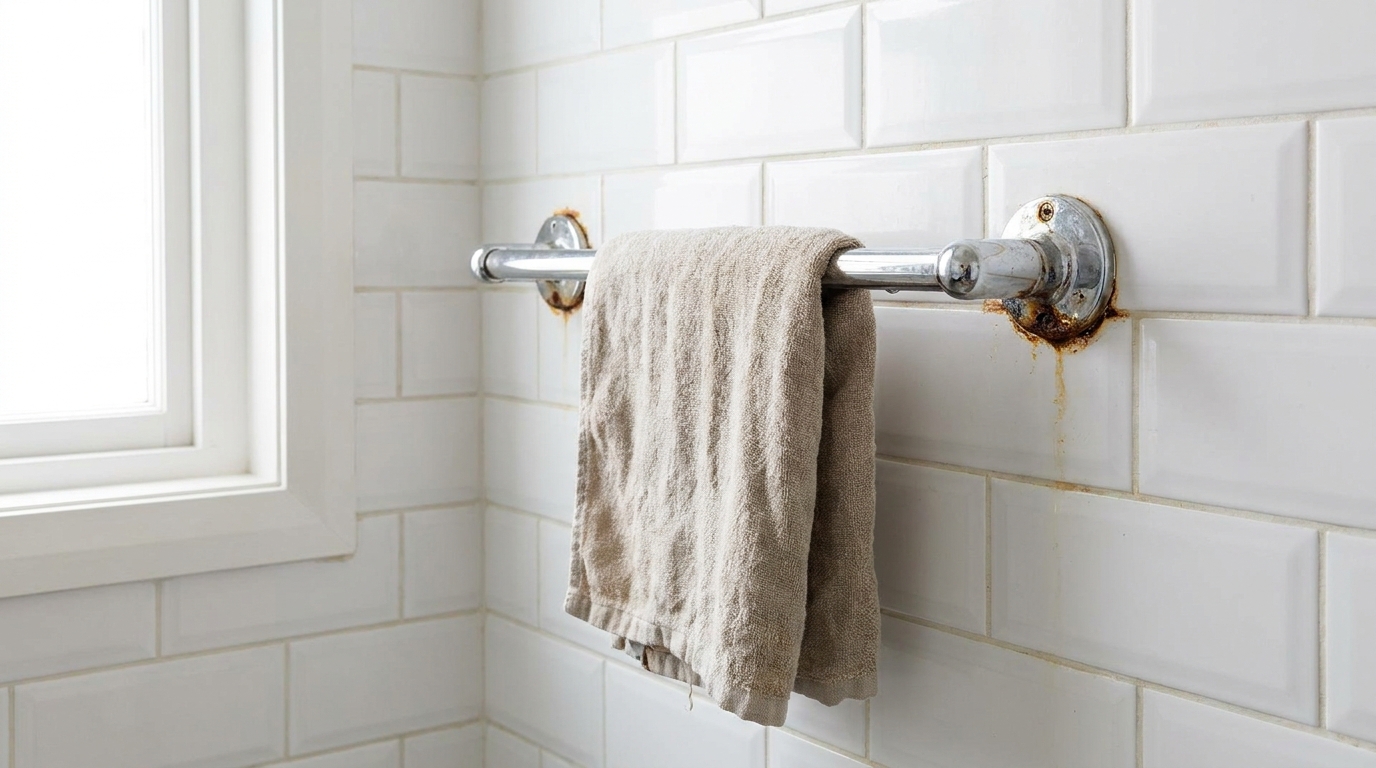
Before: An older chrome or steel towel rail, showing the first signs of rust at the wall-mount joints, particularly common in bathrooms with poor ventilation where towels stay damp longer than they should. It holds towels, but it's also usually the first fixture in a bathroom to visibly age.
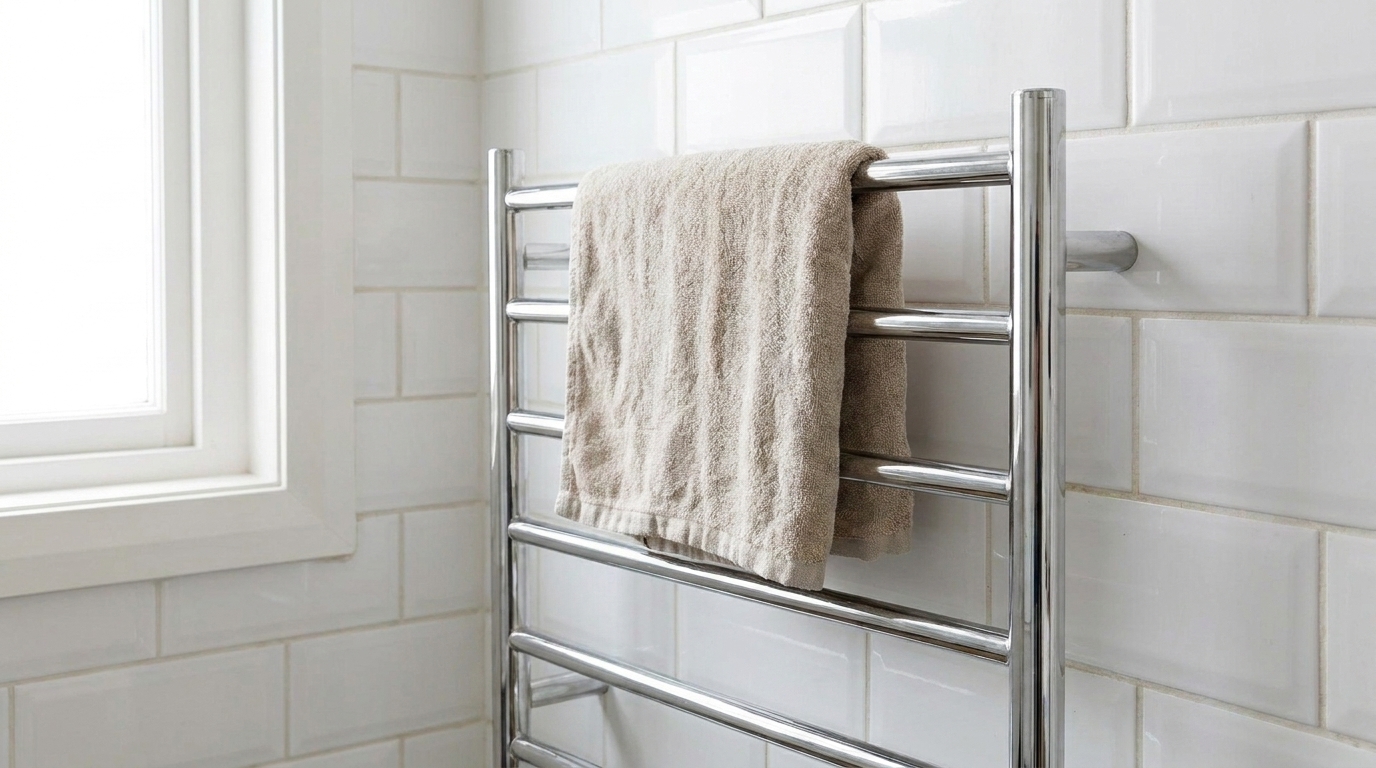
After: A heated towel rail in the same wall position, which does two things at once — it replaces a rusting fixture with a new one, and it actively helps towels dry faster between uses, which reduces the dampness that caused the original rail to rust in the first place. It's a functional upgrade layered on top of a purely visual one.
This is a slightly more involved swap than the others on this list, since a heated rail typically needs an electrical connection rather than just a wall mount — it's worth having an electrician confirm the wall has (or can have) a suitable point nearby before committing to this option, since retrofitting new wiring into an already-tiled wall is more disruptive than the rail swap itself.
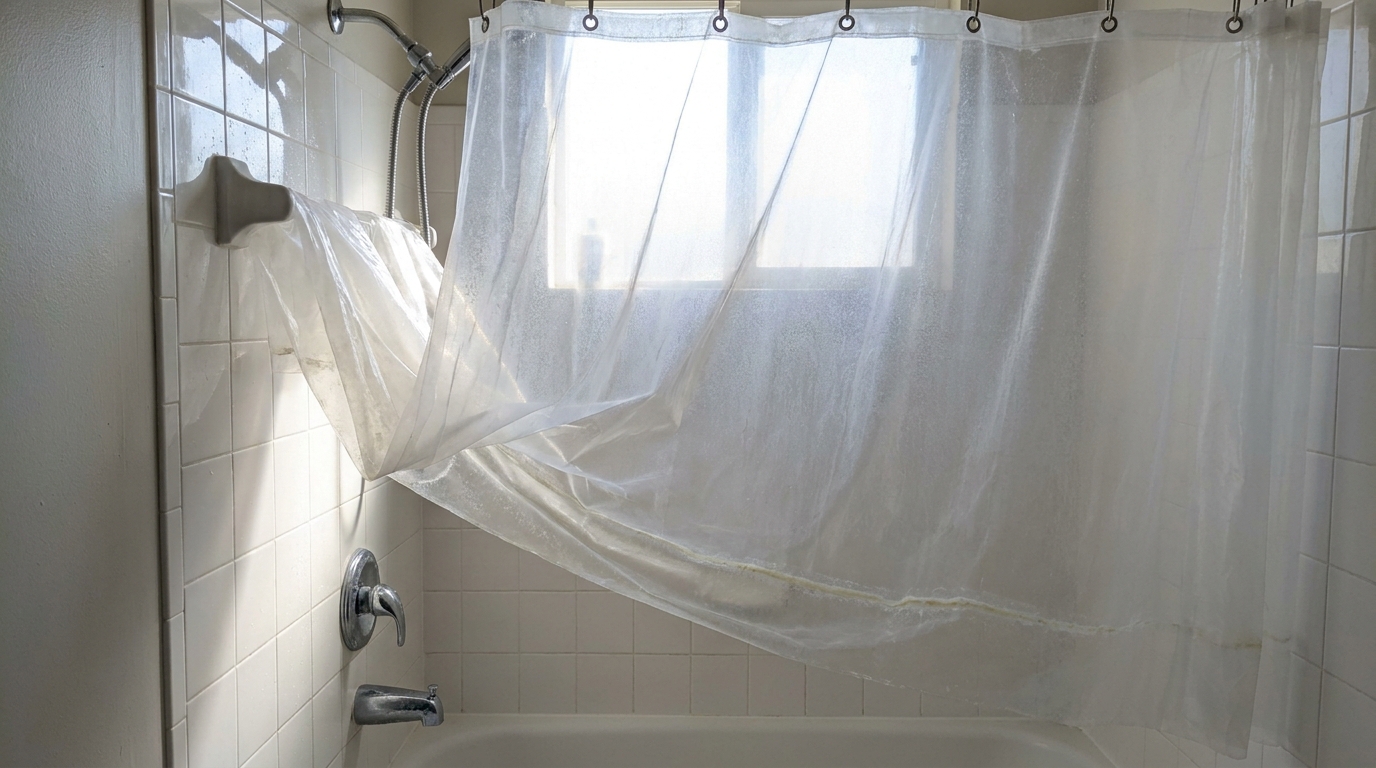
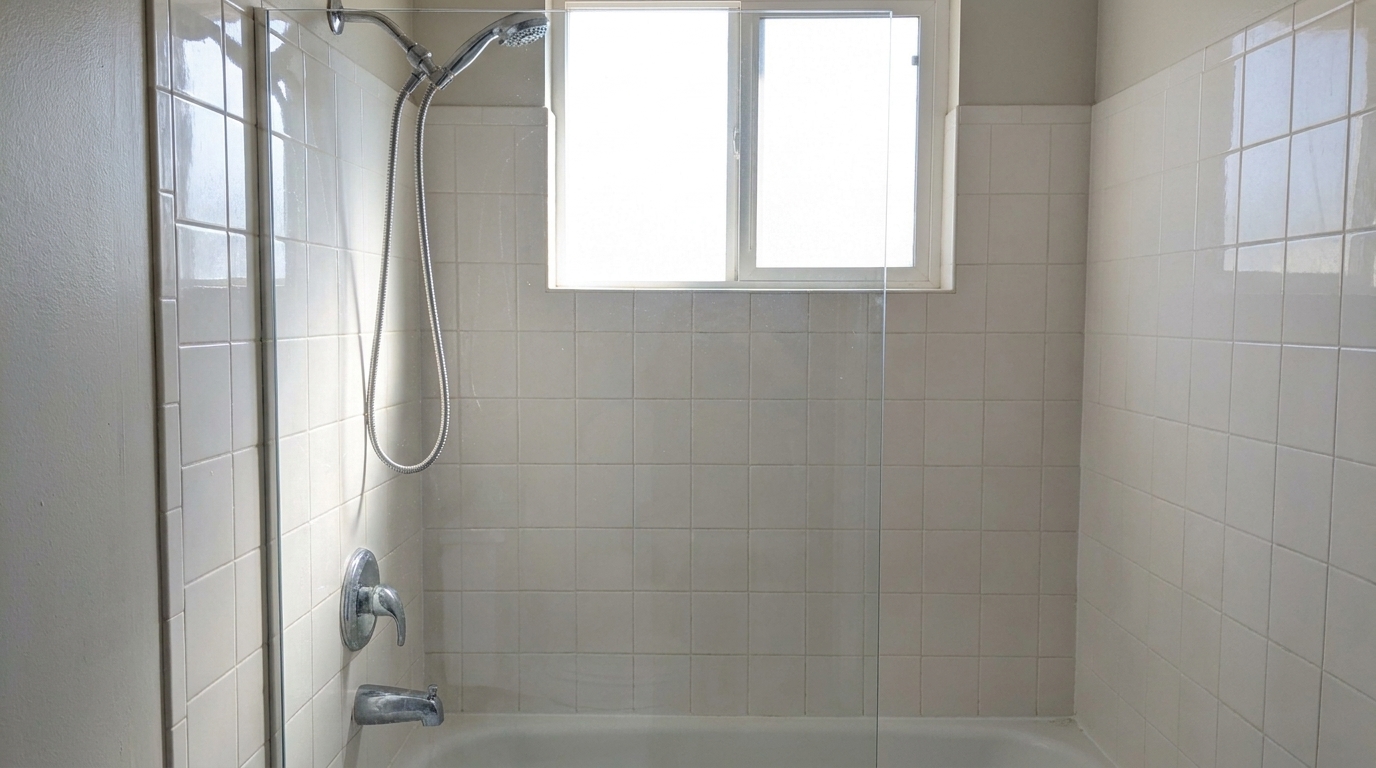
5. From a Plastic Shower Curtain to a Frameless Glass Panel
Before: A plastic or fabric shower curtain, functional at keeping water contained but prone to clinging, mildew buildup along the bottom edge, and a general sense of impermanence compared to the rest of the bathroom's finishes. It's also usually the single item in the room that looks the most different in material and quality from everything around it.
After: A frameless glass panel in the same opening, which eliminates the mildew and clinging problems entirely while also making the bathroom read as considerably more finished — glass has none of the visual softness or informality of fabric, and it doesn't obstruct the sightline across the room the way a drawn curtain does.
This is one of the costlier swaps on this list and does typically require professional installation for a secure, leak-proof fit, but it's still a fraction of the cost and disruption of retiling the shower area, since the existing shower base and surrounding tile stay completely untouched.
6. From a Bare Bulb Overhead to a Warm Vanity Light Bar
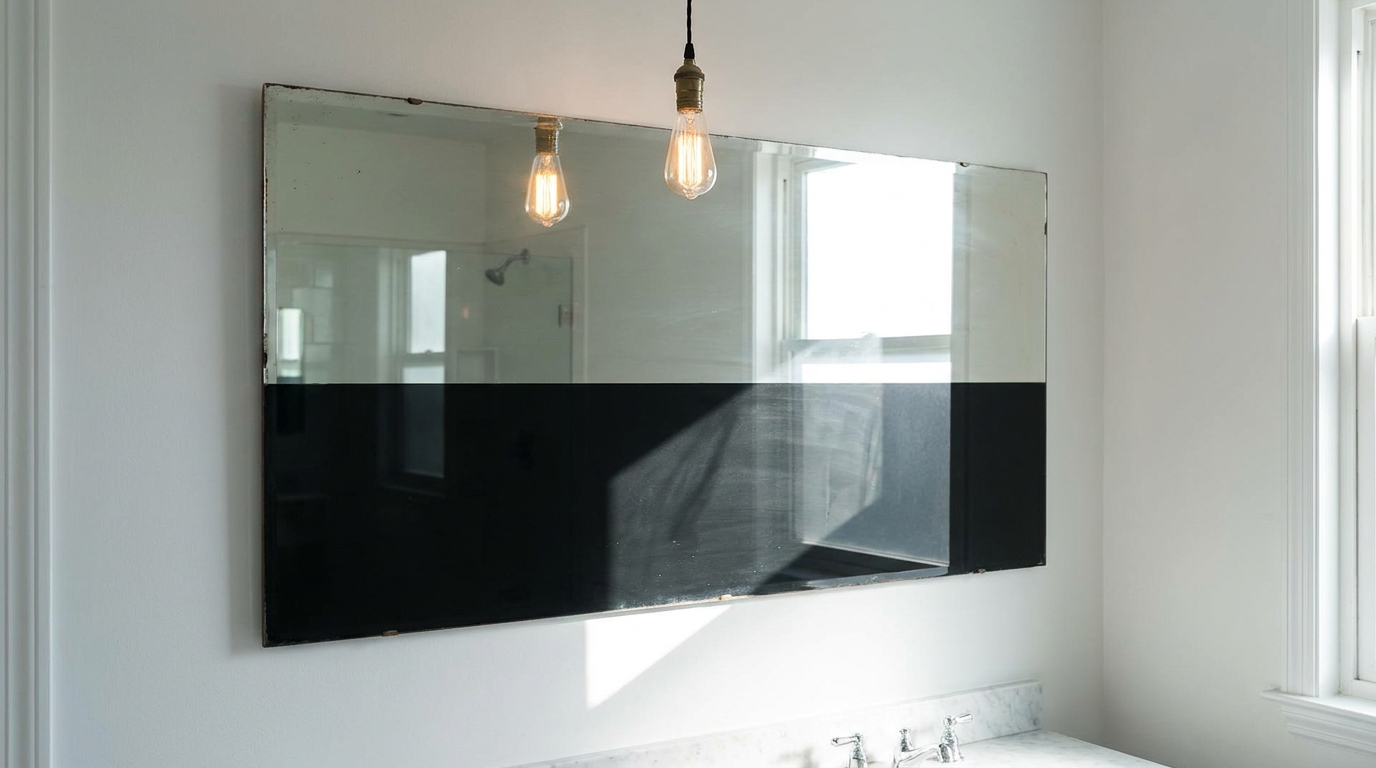
Before: A single bare bulb or a basic enclosed fixture directly overhead, casting light straight down, which creates shadows under the chin and eyes at the mirror — flattering for almost no one and functionally poor for tasks like shaving or applying makeup, where even, front-facing light matters more than overhead light.
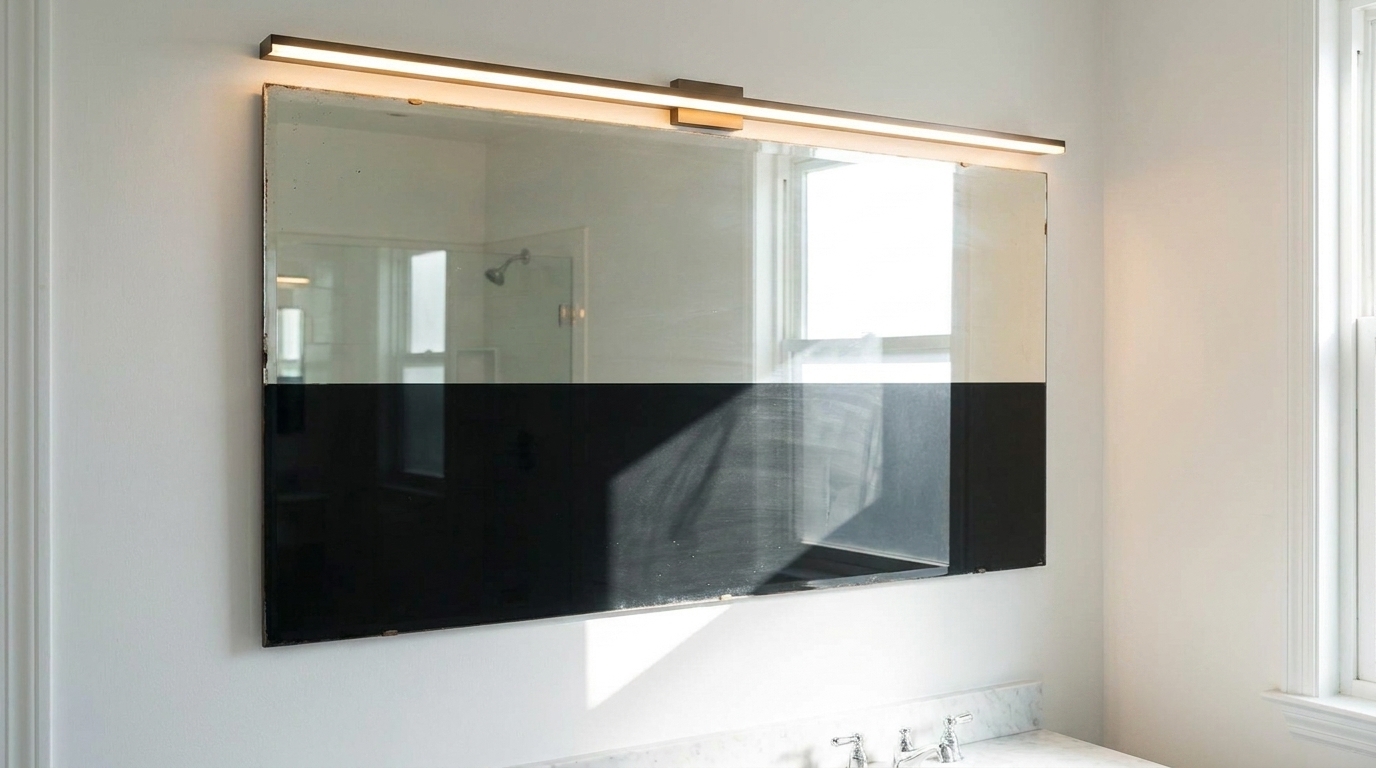
After: A horizontal LED light bar mounted directly above or beside the mirror, angled to light the face evenly from the front rather than from overhead. This is a genuinely functional upgrade as much as a visual one — vanity tasks that depend on seeing your own face clearly are simply easier under front-facing light than under a downward-shadowing overhead bulb.
Installation complexity depends on whether there's already wiring near the mirror; if the bathroom already has an overhead point nearby, extending it to a vanity-side position is usually a modest electrical job, though it's still worth having an electrician assess the specific wall and wiring situation before committing to a fixture.
Closing
Fixtures are easy to deprioritise when the bigger decisions — tiling, layout, fittings — are taking up most of the attention and budget during a bathroom project. But the tap, the mirror, and the handles are what actually get touched and looked at closely every day, and getting them right is part of what makes a finished bathroom feel considered rather than merely functional. Whether you're planning a full renovation or just refreshing what's there, it's worth giving these the same thought as everything else.
Want a real estimate for your home?
Share your home in 2 minutes. We'll match you with verified designers in your city and give you a BOQ-level estimate before any work begins.
Share your home →