6 Kitchen Backsplash Transformations, Before & After
Six kitchen backsplashes, before and after — proof that changing one surface, without touching the rest of the kitchen, can transform the whole room.
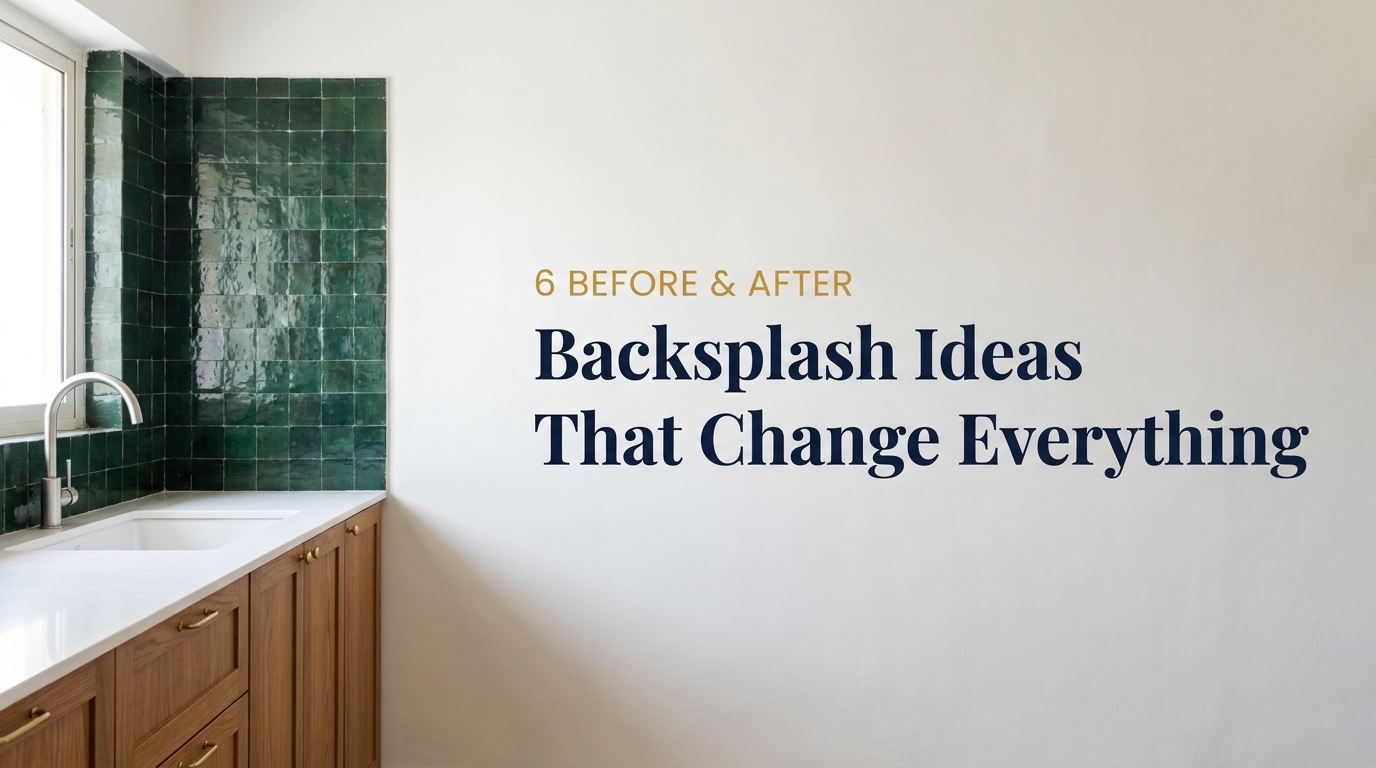
The backsplash is the one surface in an Indian kitchen that's almost always original — cabinets get repainted, counters get replaced, lighting gets upgraded, but the strip of tile behind the stove and sink usually stays exactly as the builder installed it, sometimes for the entire life of the flat. It's also, proportionally, one of the cheapest and most visually impactful things to change, since a backsplash covers a relatively small area compared to flooring or cabinetry, but sits directly at eye level in the one room a household spends the most active time in.
This before-and-after story walks through six kitchens where changing only the backsplash — nothing else in the layout, cabinetry, or counters — completely shifted how the space reads. Each pair includes what the swap actually involved, what it cost relative to other kitchen upgrades, and what to watch for with maintenance.
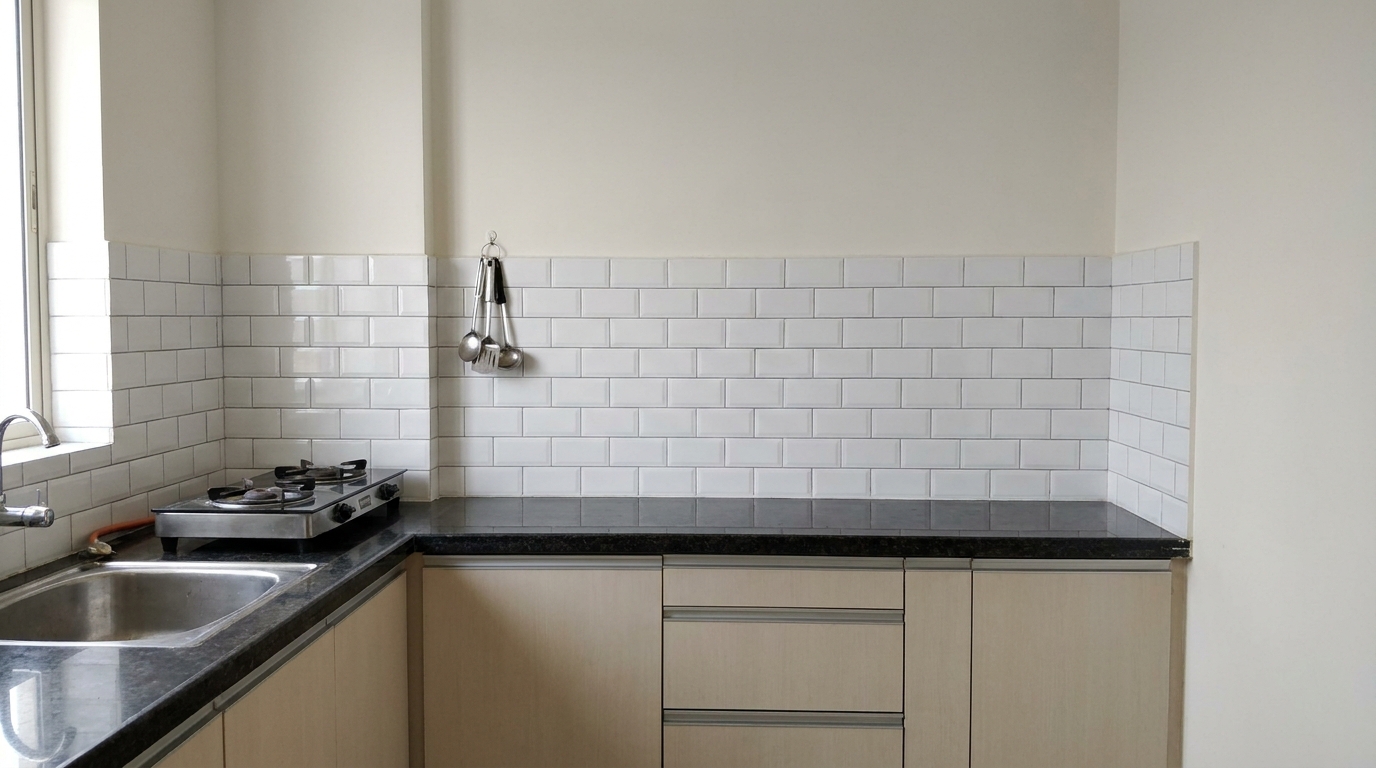
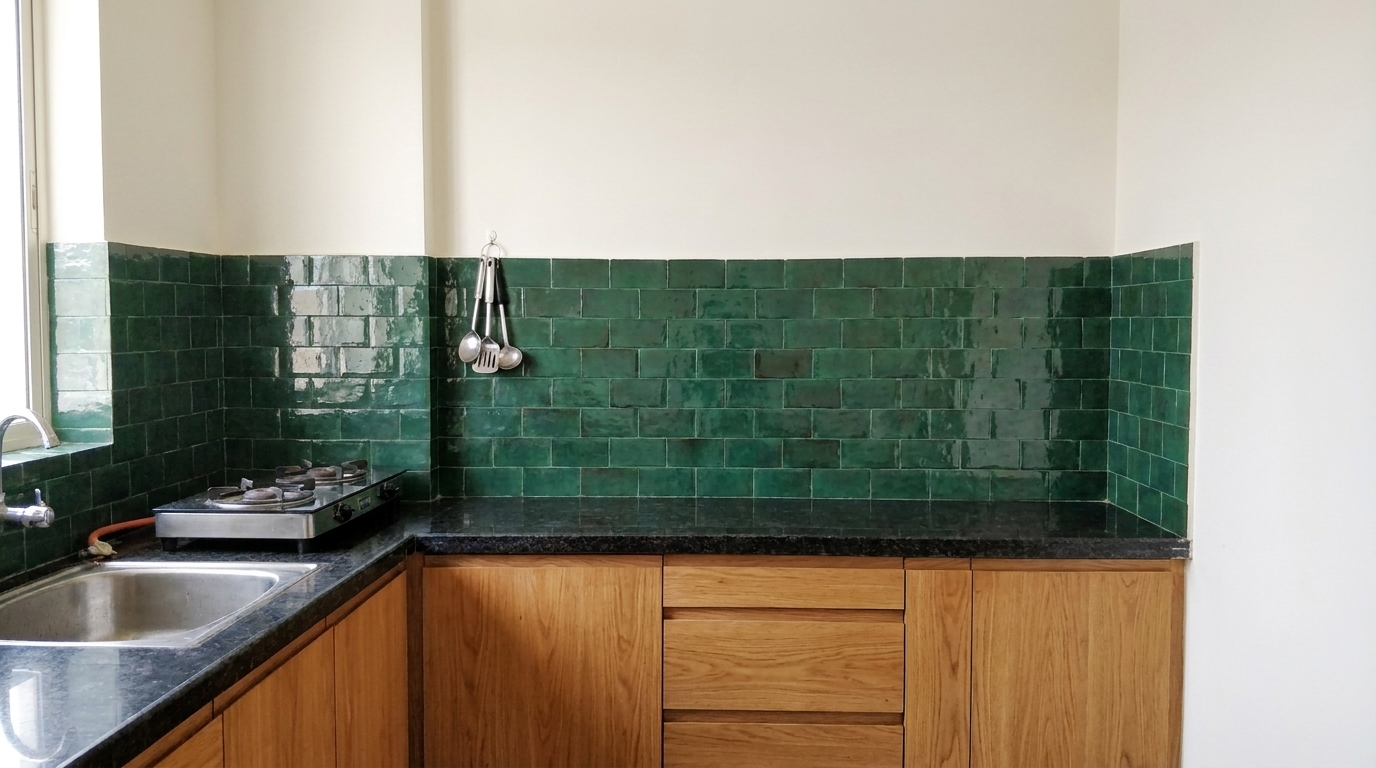
1.Plain White Subway Tile → Green Zellige-Style Tile
Before: A standard 4x8-inch glossy white subway tile, laid in the default brick-bond pattern with bright white grout — the tile that comes with roughly eight out of ten builder-finished Indian kitchens, chosen for being inoffensive rather than considered.
After: A deep bottle-green zellige-style tile with a deliberately irregular, hand-glazed surface, laid in the same brick-bond pattern to keep the transition simple. Zellige tiles are made individually rather than machine-pressed, so no two tiles reflect light identically — the surface has a subtle rippled quality that makes even a small backsplash strip feel handcrafted rather than mass-produced. This single change shifted the kitchen from feeling like a rental unit to feeling like a considered, finished space, without touching a single cabinet or countertop.
Zellige costs meaningfully more per square foot than standard ceramic subway tile, but because a backsplash covers a small total area, the overall cost difference for the room stays manageable. The irregular glaze does show water spots more visibly than a uniform glossy tile, so it needs slightly more frequent wiping down near the sink and hob areas to stay looking crisp.
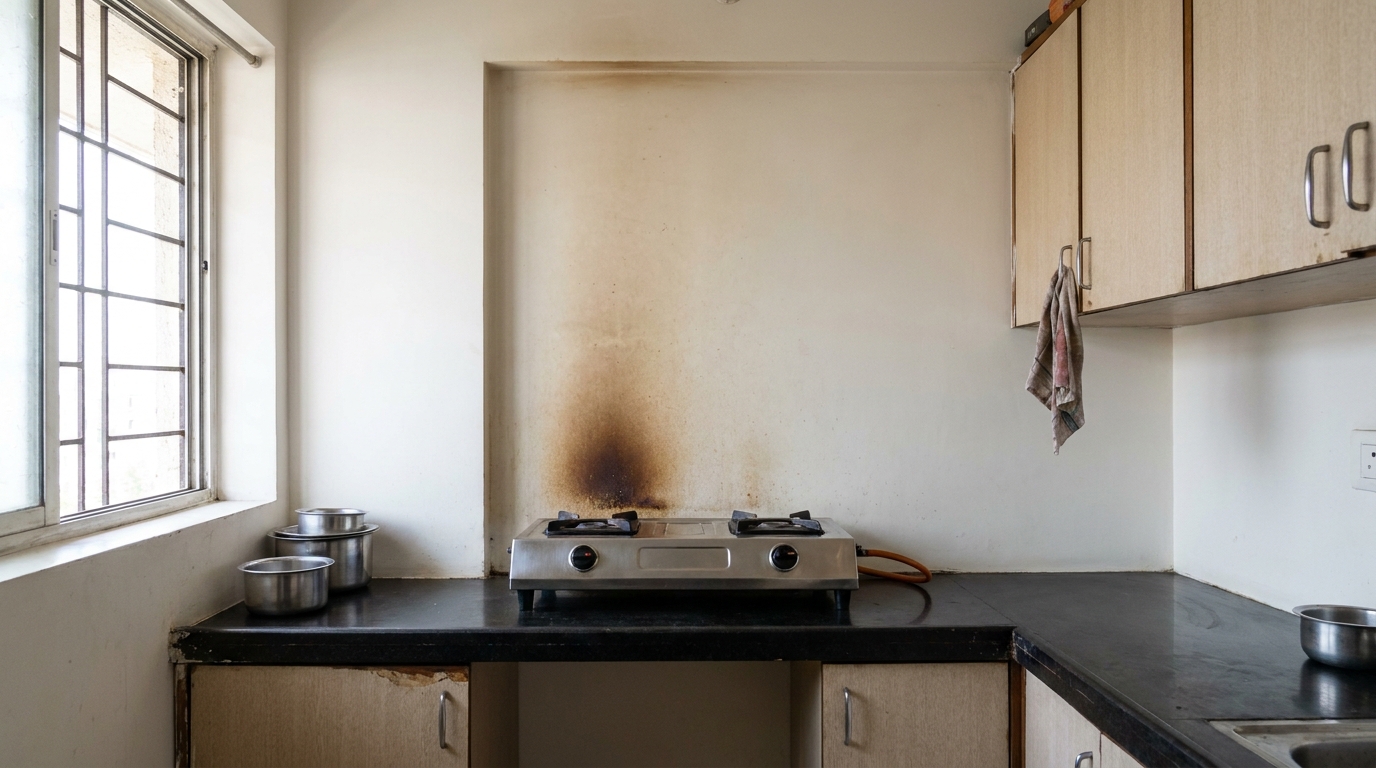
2.Bare Painted Wall → Fluted Stone Panel Backsplash
Before: A section of kitchen wall behind the hob left simply painted rather than tiled at all — common in older or budget-first apartment builds where tiling stopped at the sink area and the rest of the wall was treated as a paint job, leaving it vulnerable to grease staining and difficult to clean around the stove.
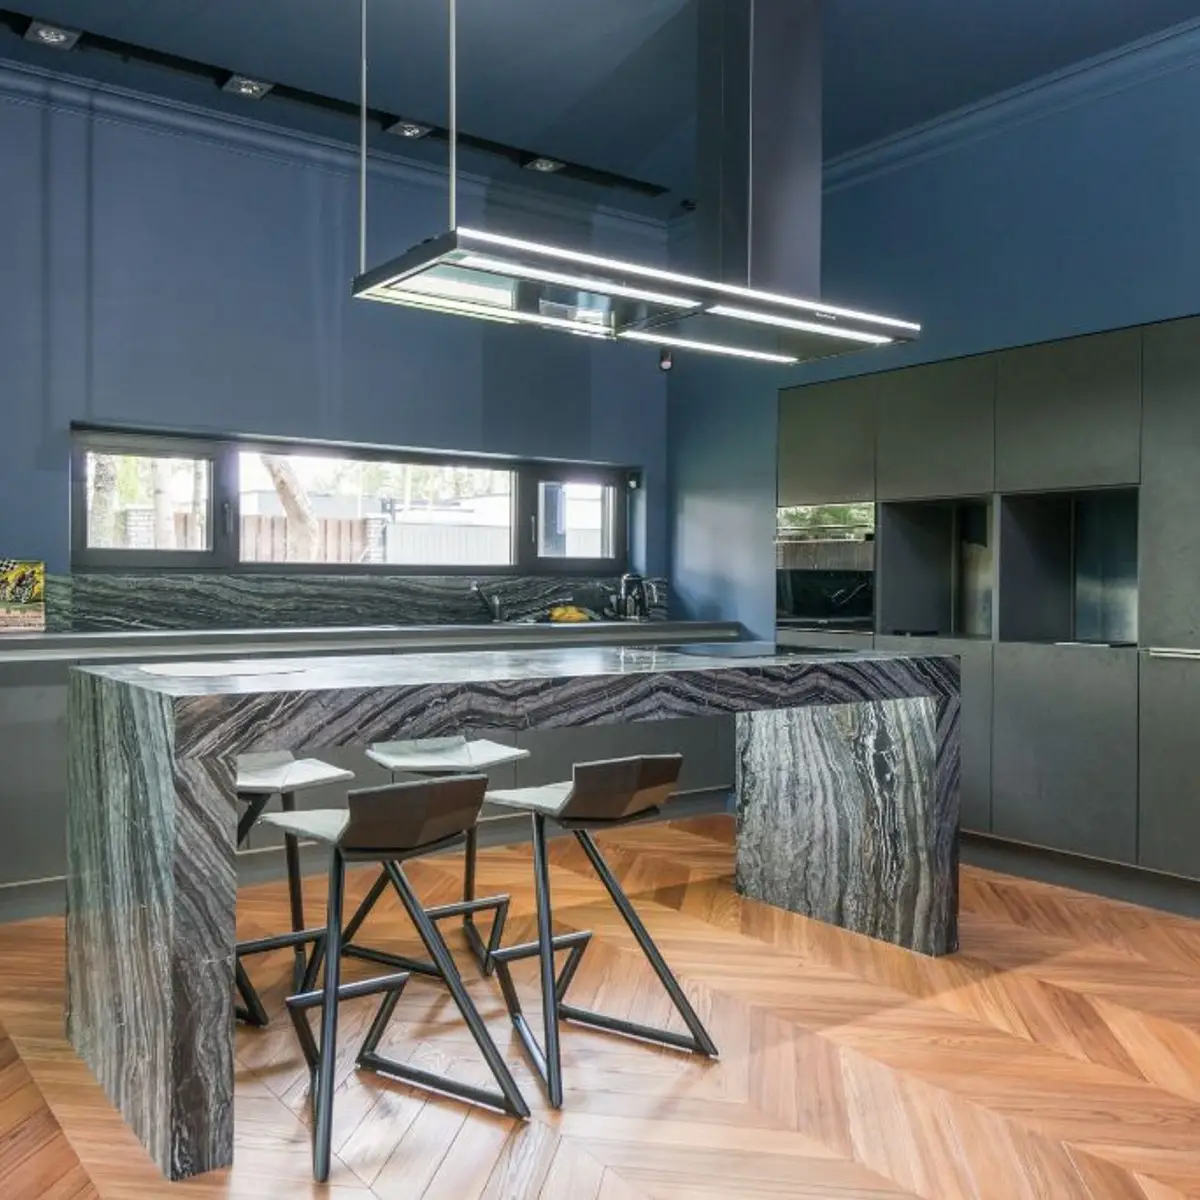
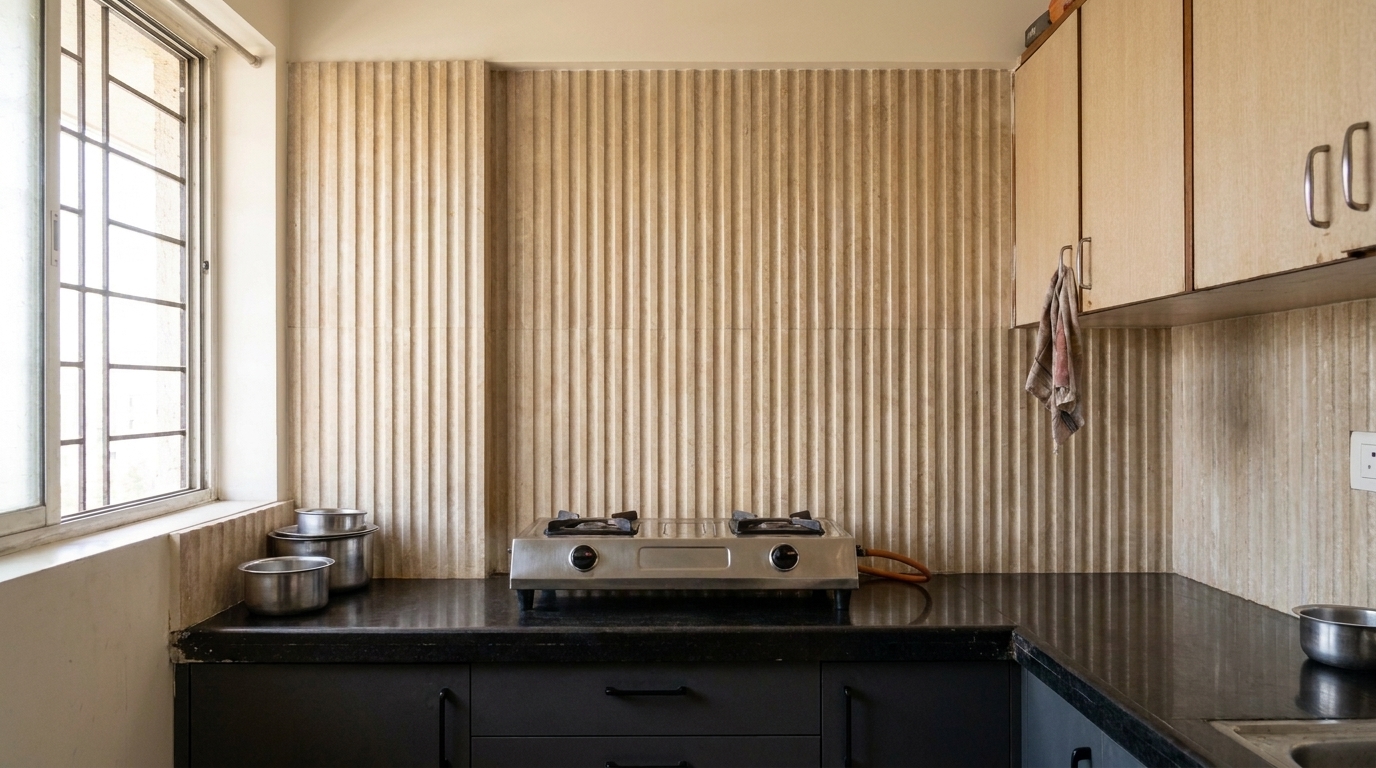
After: A fluted natural stone panel, installed as a single continuous run behind the hob, with vertical ridges that catch light differently depending on the angle it's viewed from. Unlike flat tile, the fluted texture adds genuine dimensionality to what's usually the most visually flat part of a kitchen. Practically, it also solves the original problem — a sealed stone surface behind the hob is vastly easier to wipe grease and splatter off than painted plaster ever was.
This is a heavier material than tile, so it needs a wall that can structurally support it, and professional installation rather than a DIY approach given the weight and precision the fluted grooves require to align correctly. It sits at the higher end of backsplash costs, but for a household that cooks daily with a lot of oil-based Indian cooking, the practical cleaning benefit alone often justifies it independent of the aesthetic upgrade.
3.Small Beige Tile → Bold Handmade Ceramic Tile in Mustard Yellow
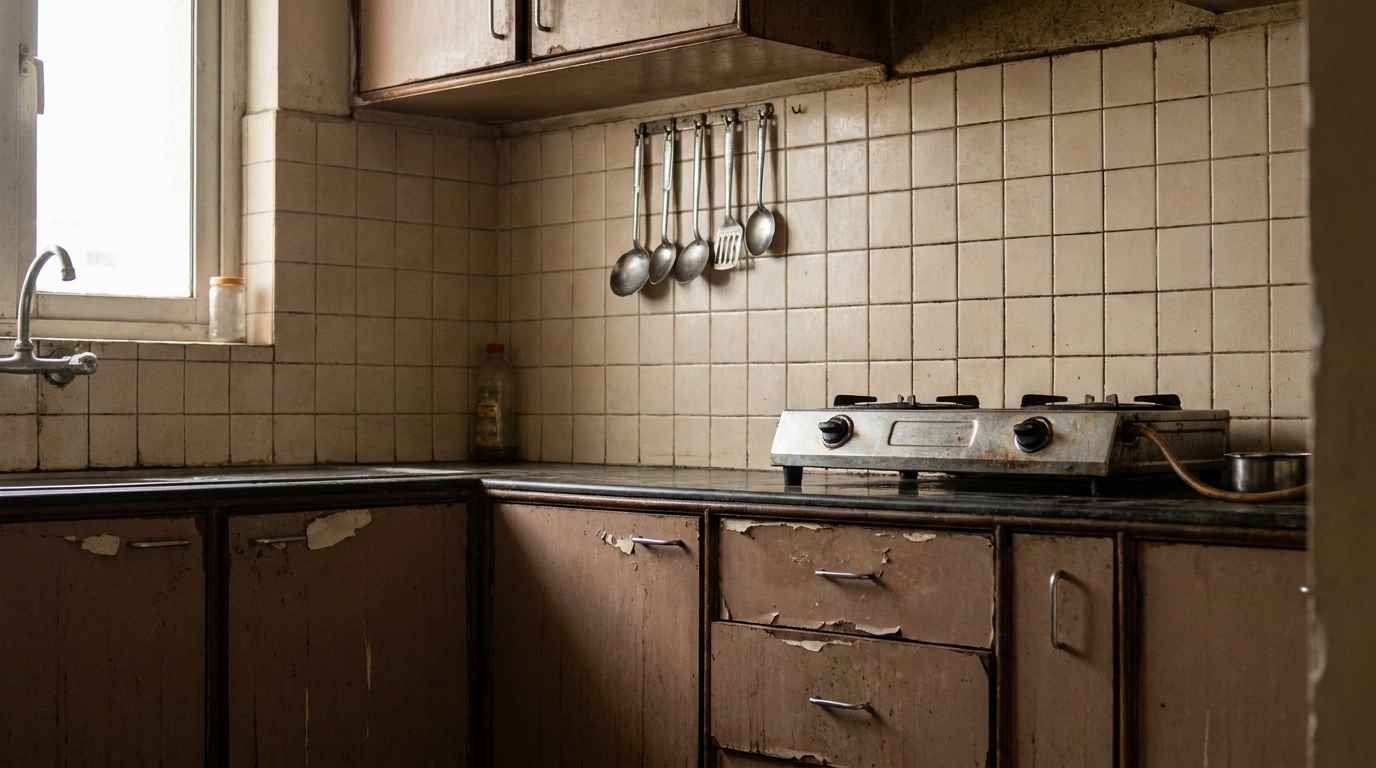
Before: A small, dated beige ceramic tile in a plain grid pattern with slightly discoloured grout from years of use — functional, but visually forgettable to the point of blending entirely into the rest of a beige-on-beige kitchen.
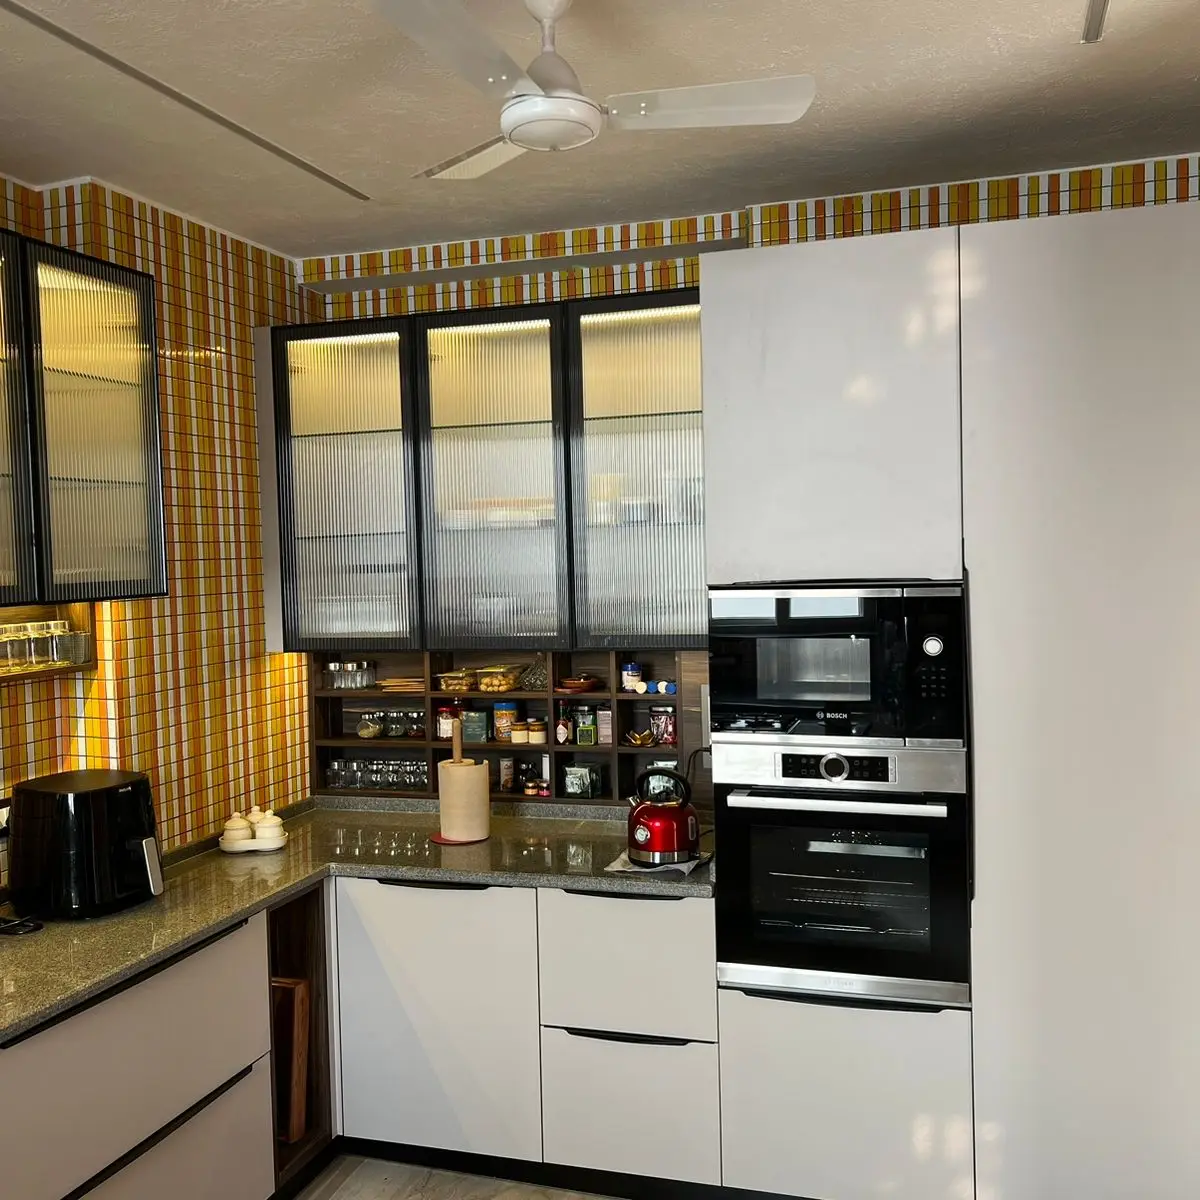
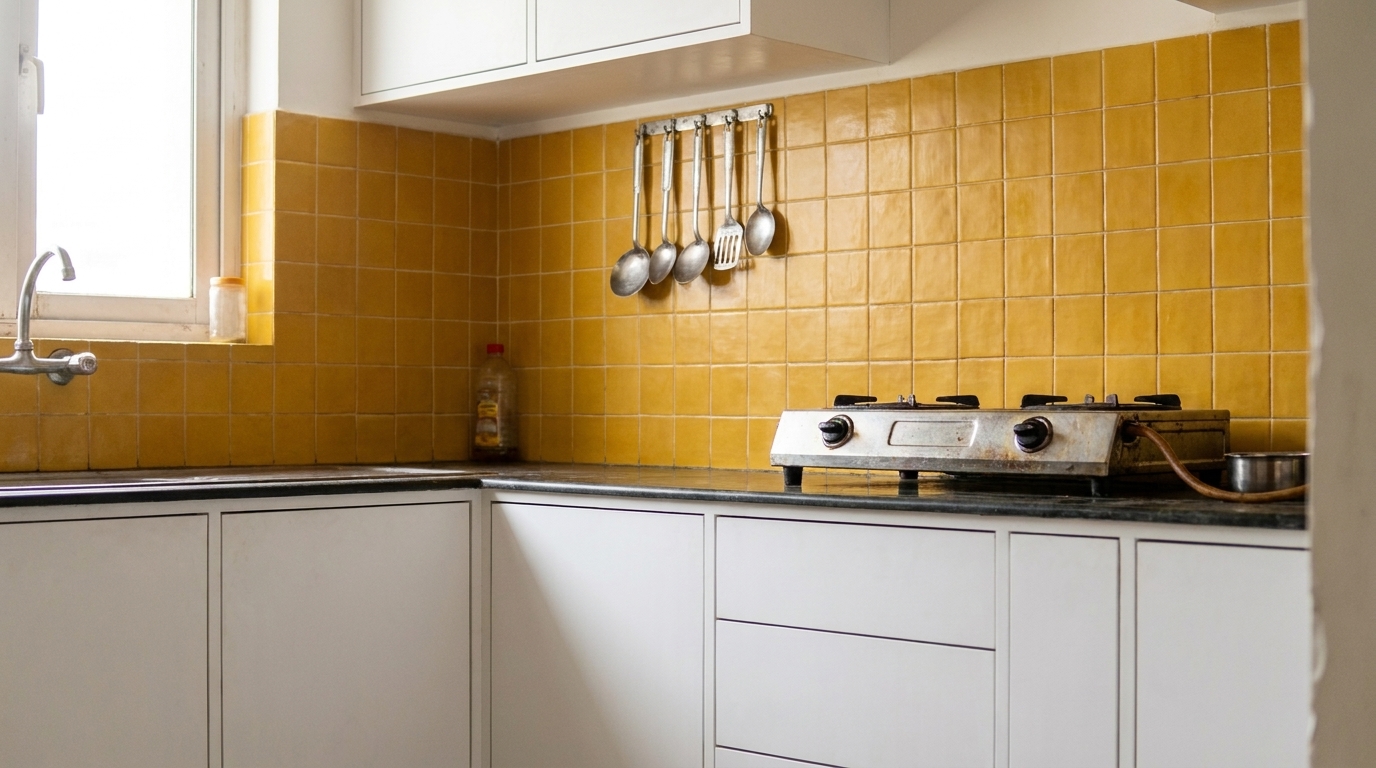
After: A bold mustard-yellow handmade ceramic tile with a soft matte glaze, laid in the same simple grid pattern as the original tile to keep the transformation focused purely on colour and material rather than pattern complexity. This is one of the lowest-cost, highest-visual-impact swaps in this entire list — the layout and grid pattern didn't need to change at all, only the tile itself, which meant minimal additional labour beyond the retiling work itself.
A saturated colour like mustard works particularly well in kitchens with otherwise neutral cabinetry and countertops, since it acts as the single dominant colour statement in the room without competing against other bold choices elsewhere. Matte-glazed tile does need slightly more careful cleaning near the hob than a glossy finish, since grease can dull a matte surface faster than a reflective one, but a monthly deeper clean keeps it looking as saturated as day one.
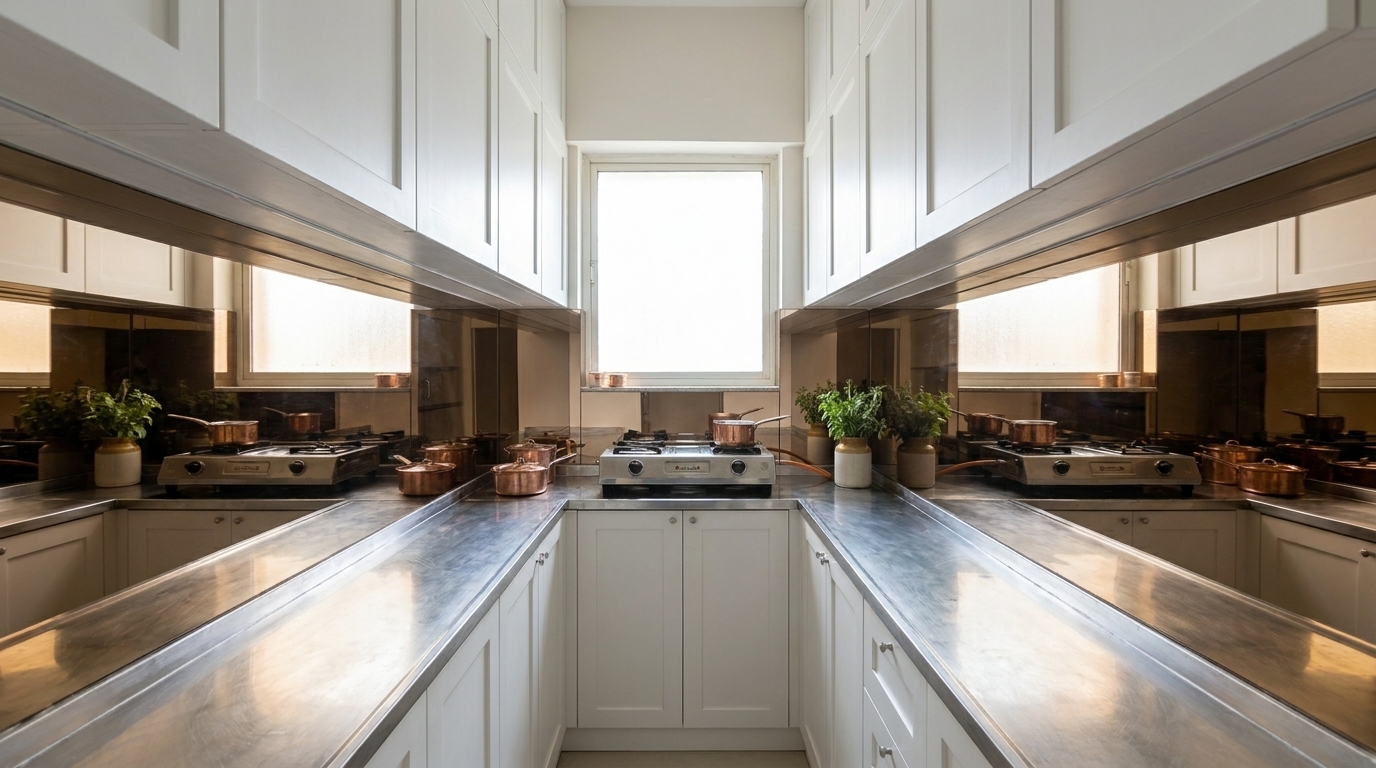
4.Standard Tile → Mirrored Glass Backsplash
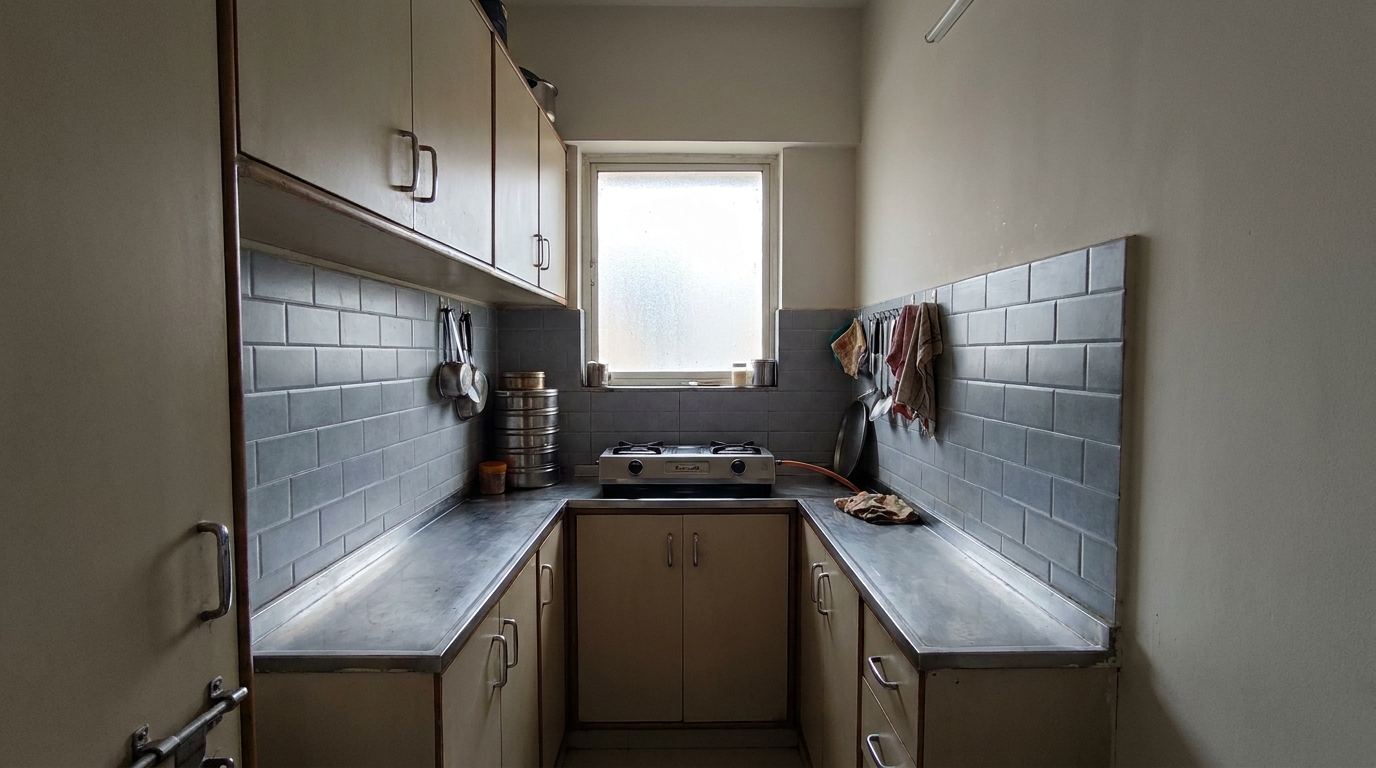
Before: A narrow galley kitchen with a standard ceramic tile backsplash in a slightly cool grey tone, functional but visually adding to how enclosed and tight the compact space already felt, since the matte tile absorbed light rather than bouncing it back into the room.
After: A mirrored bronze-tinted glass backsplash panel, installed as a single continuous sheet rather than individual tiles, eliminating grout lines entirely for a completely seamless surface. In a narrow galley layout specifically, this does real spatial work — the mirrored surface reflects the opposite counter and window light back into the kitchen, making the whole run of the galley feel noticeably wider and brighter than the same square footage did with matte tile.
Glass backsplash needs precise templating and professional installation, since any cabinet or outlet misalignment shows immediately on a reflective seamless surface in a way it wouldn't on individual tiles. It's also worth a slightly frosted or tinted finish rather than fully clear mirror glass in a working kitchen — a bronze or smoke tint hides water spots and fingerprints considerably better than a true mirror finish would in daily use.
5.Plain Ceramic Tile → Bookmatched Natural Stone Slab
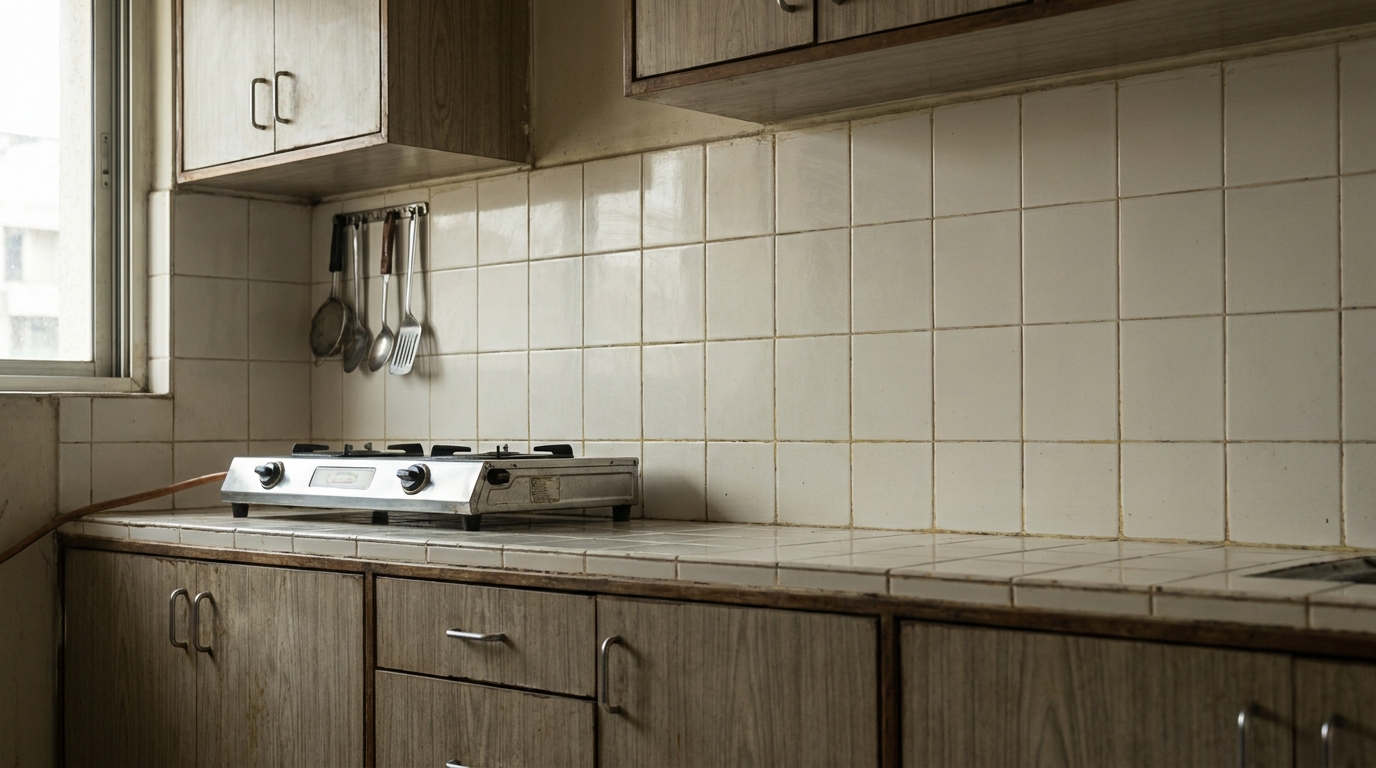
Before: A plain off-white ceramic tile backsplash with a slightly yellowed grout line pattern running in an unremarkable grid — the kind of surface that reads as simply "unfinished" rather than deliberately minimal, since there's no material interest to draw the eye.
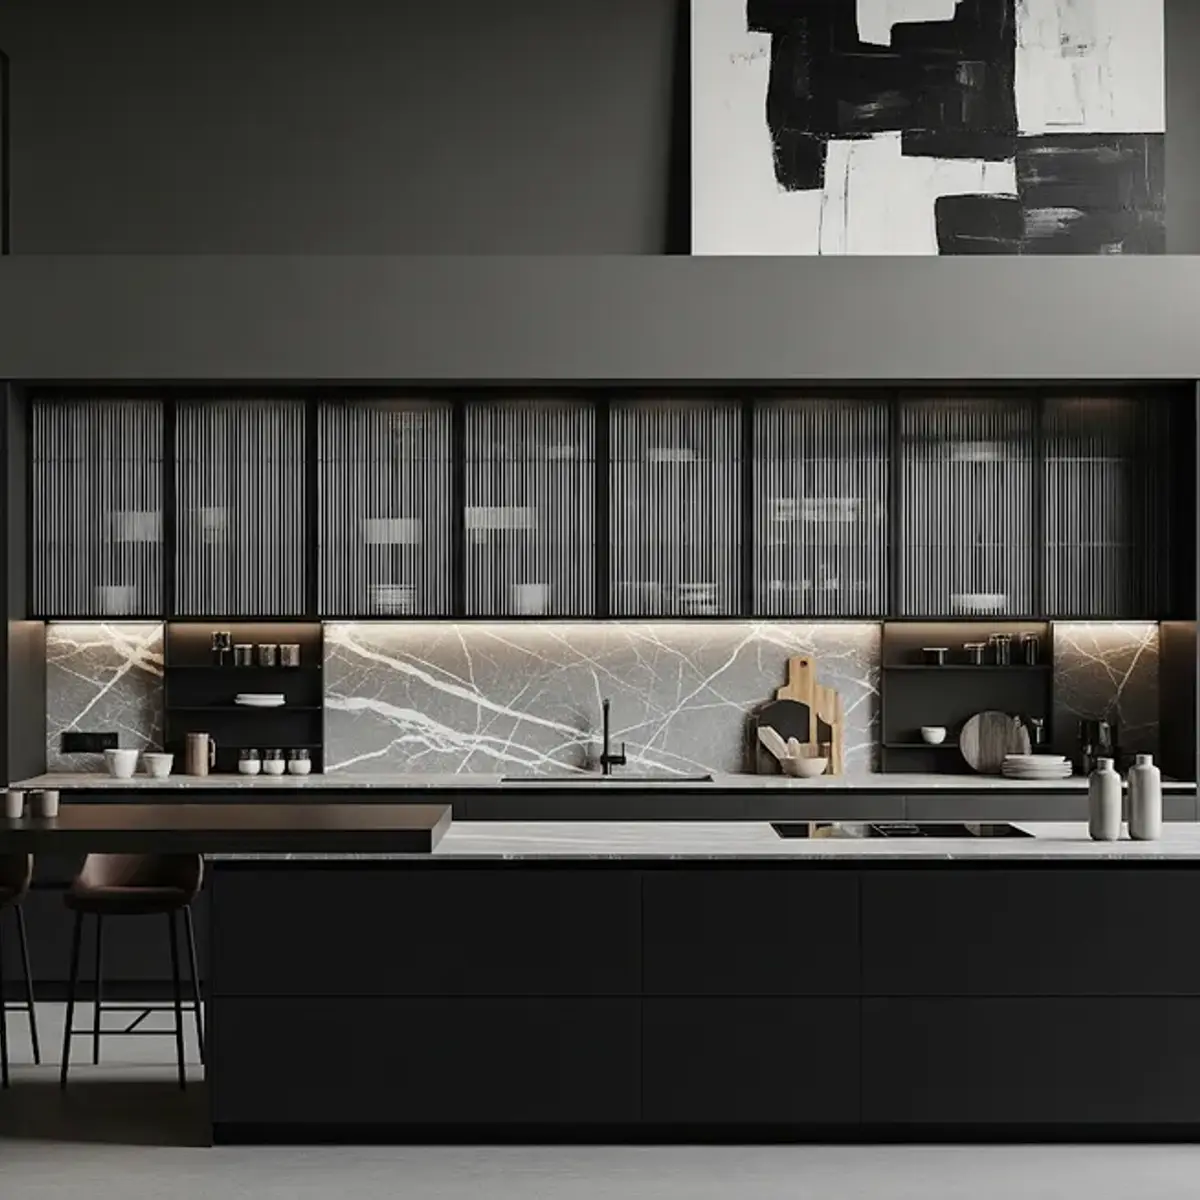
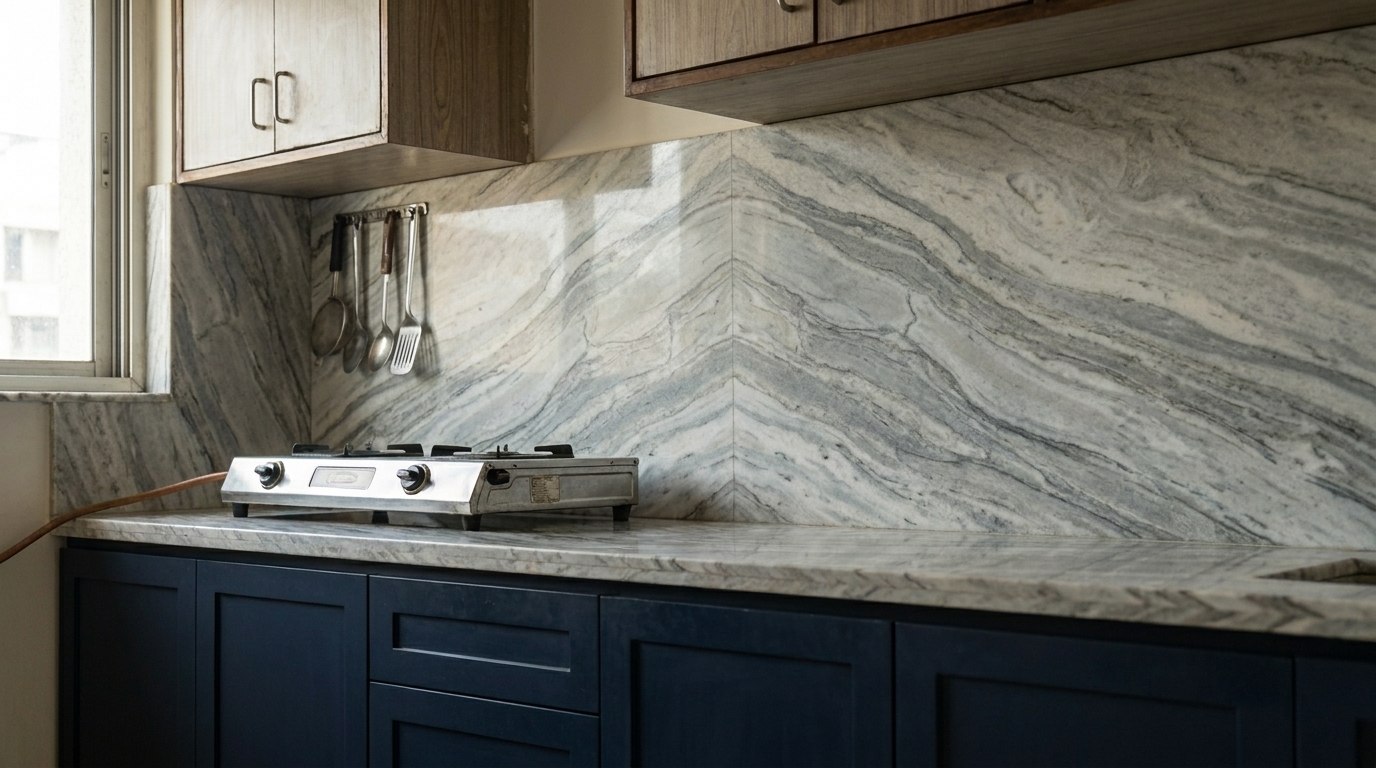
After: A single bookmatched natural stone slab — two adjacent slabs cut from the same block and installed mirrored against each other so the natural veining forms a symmetrical pattern across the full run of the backsplash. This is the most premium transformation on this list, since it requires sourcing matched slabs and precise cutting, but the visual result is genuinely striking in a way tile, however well-chosen, generally can't replicate — the veining reads as a single continuous artwork rather than a repeated pattern.
This is a significant material and installation cost relative to every other option here, and it needs to be planned early since slab sourcing and cutting takes considerably longer lead time than ordering tile. For a kitchen where the backsplash functions as a genuine design centrepiece rather than a background surface, though, it's one of the few upgrades that can single-handedly define the character of the entire room.
6.Basic Grid Tile → Patterned Cement-Look Tile
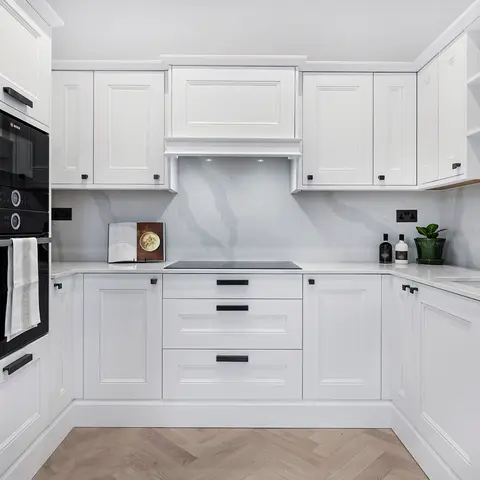
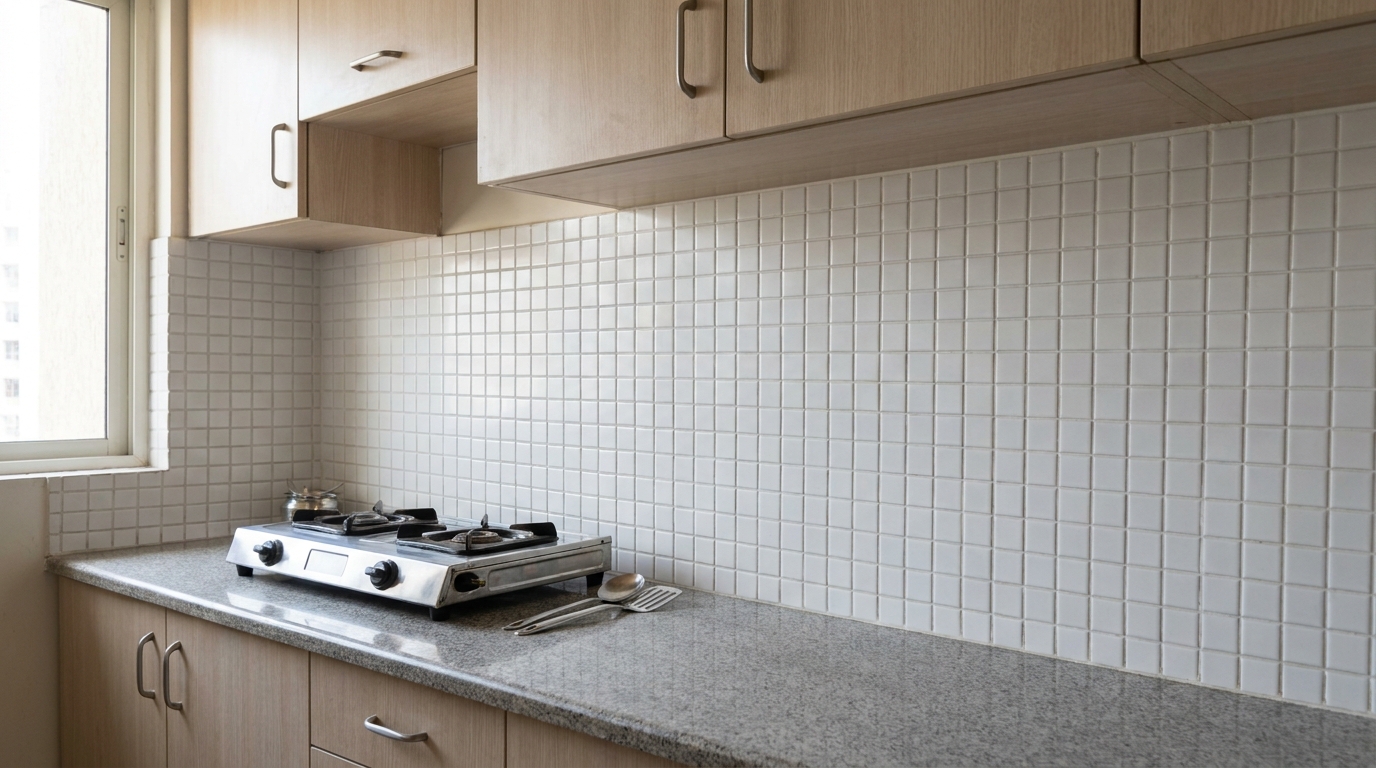
Before: A small basic white grid tile installed in a neat, clean strip behind the counter — a perfectly functional, tidy choice, the kind of safe default that does its job without drawing attention to itself or adding any real character to the room.
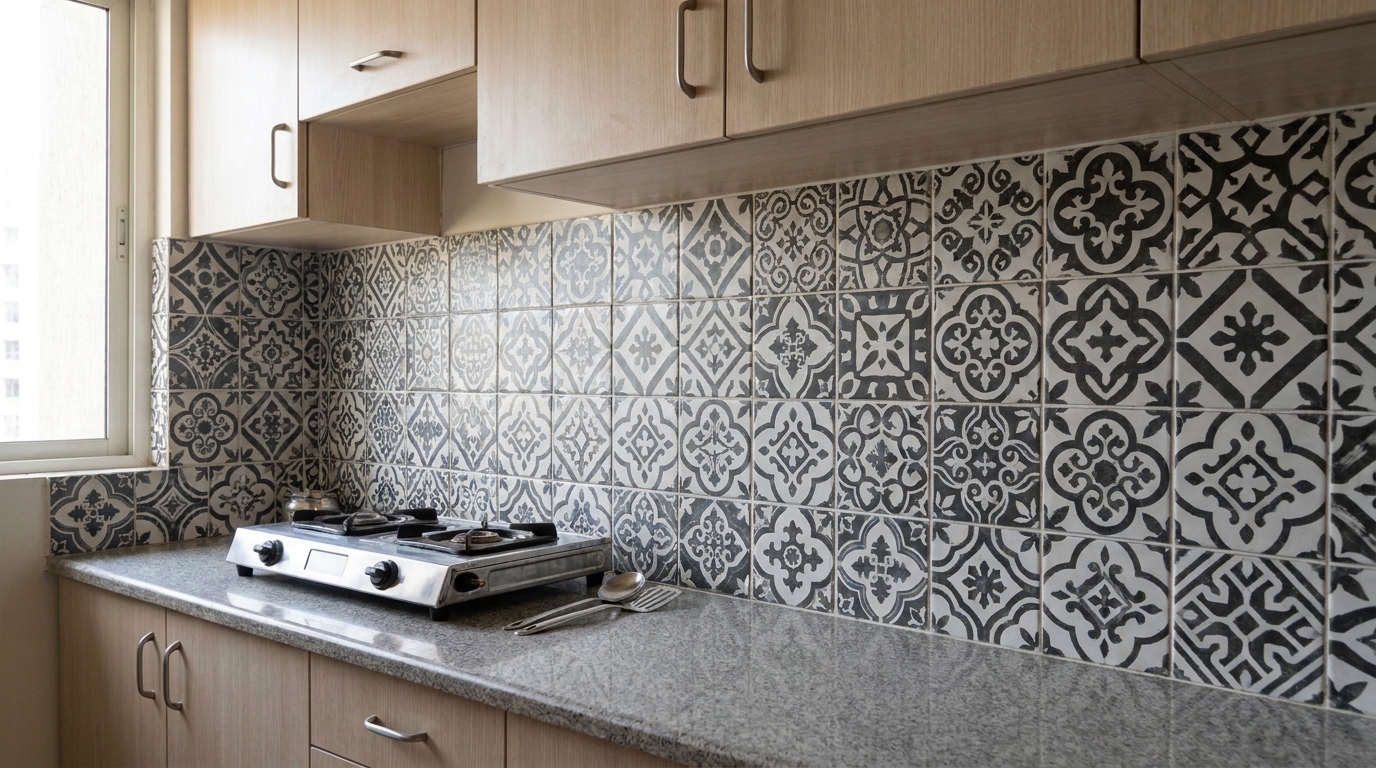
After: A patterned cement-look tile in a geometric black-and-white design, extended to run the full height of the wall from counter to upper cabinet rather than stopping at a narrow strip. Patterned tile in this style reads as distinctly more finished and considered than a plain grid, and running it full-height rather than in a narrow band makes the kitchen feel like the tiling was a deliberate design decision from the start, not just a functional necessity.
Cement-look tile is typically porcelain manufactured to mimic the look of traditional encaustic cement tile, which means it gets the pattern's visual richness without the higher maintenance real cement tile requires — genuine encaustic tile needs periodic sealing, while the porcelain version doesn't. This is a mid-range cost option, more than plain grid tile but considerably less than natural stone or glass, making it one of the more accessible ways to add genuine pattern to a kitchen.
Closing Thought
None of these six transformations touched the layout, the cabinets, or the appliances — only the backsplash. That's what makes this list worth paying attention to if a full kitchen renovation isn't in the budget or timeline right now. A backsplash swap is one of the few upgrades that can be done as a standalone project, in a matter of days rather than weeks, and still meaningfully change how the entire kitchen feels every single day.
Want a real estimate for your home?
Share your home in 2 minutes. We'll match you with verified designers in your city and give you a BOQ-level estimate before any work begins.
Share your home →